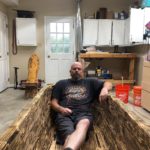
I have an addiction to soaking in hot water (as do most people). I don’t know when this started, maybe as a child taking a bath. My hot water addiction goes further as I want to soak in natural hot springs in nature. Fiberglass / cement hot tubs fill the need if that is all that is available, but nothing beats a dirty smelly hot tub in volcanic areas of the north western USA. After my last epic solo hot springs trip in 2018 I made a goal to build my own unique hot tub for my back yard. I have met that goal with version 1.
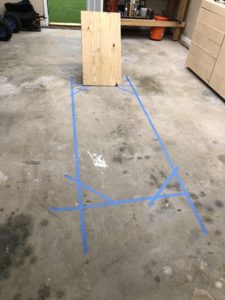
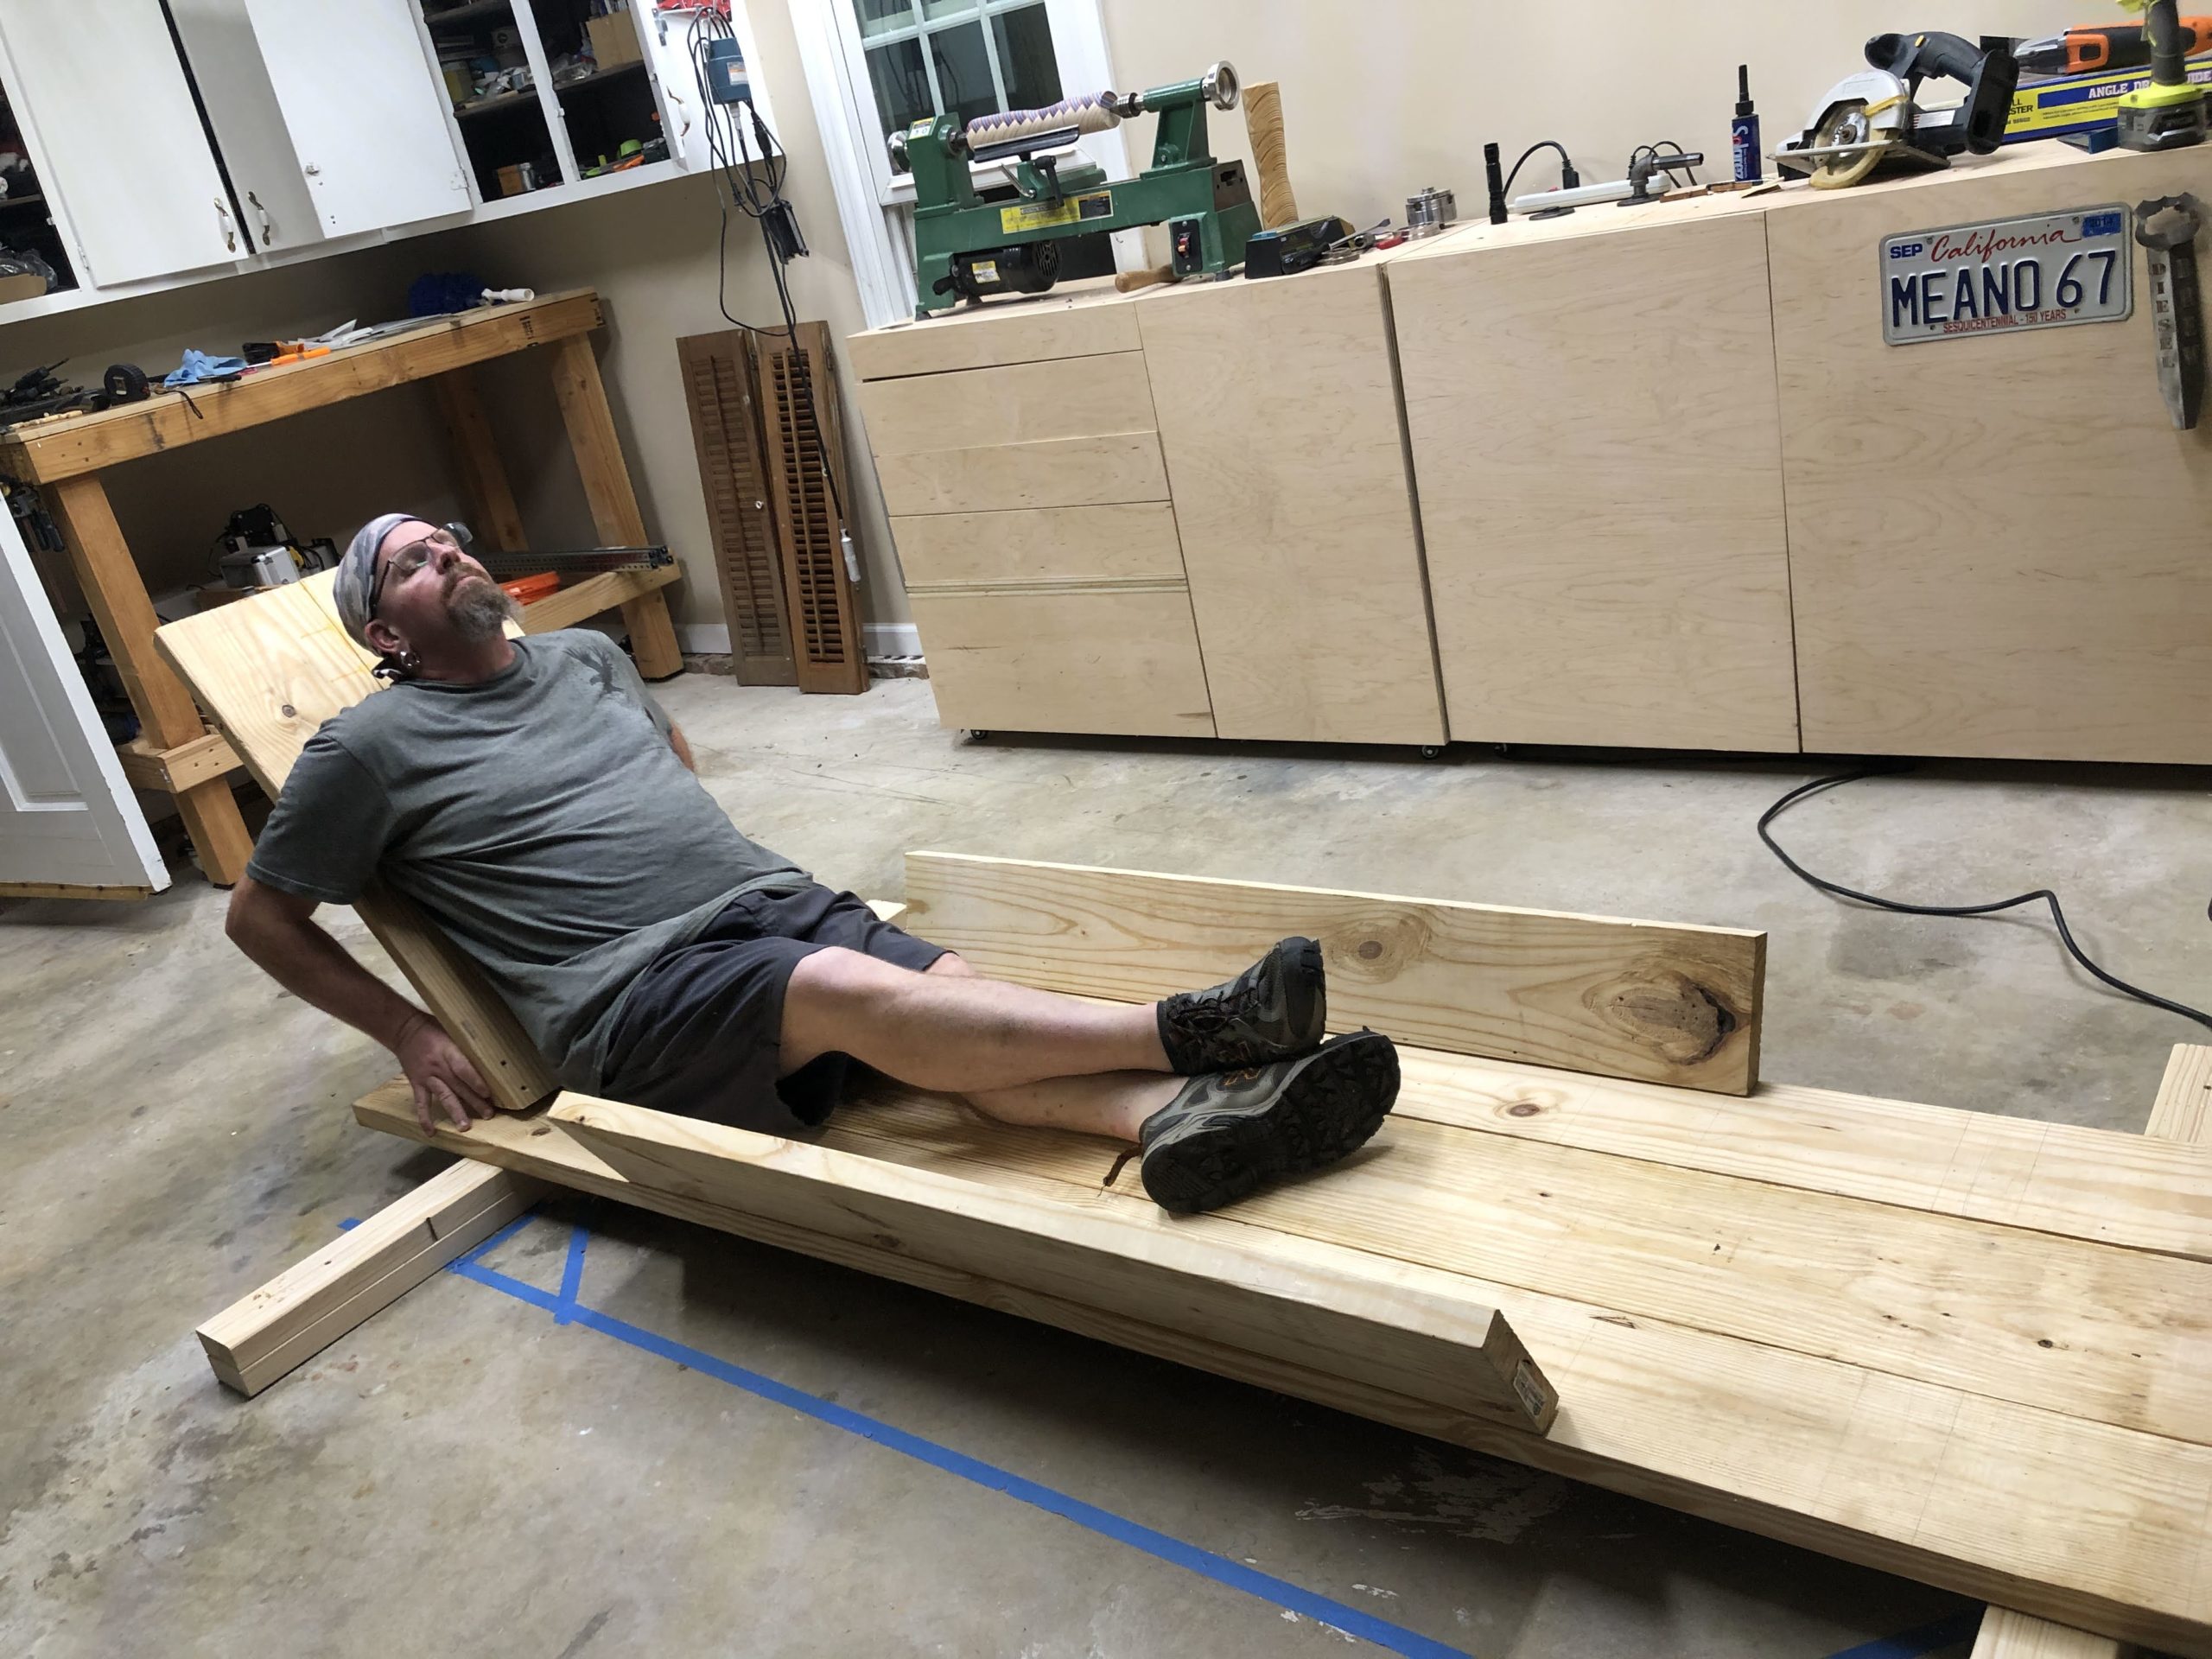
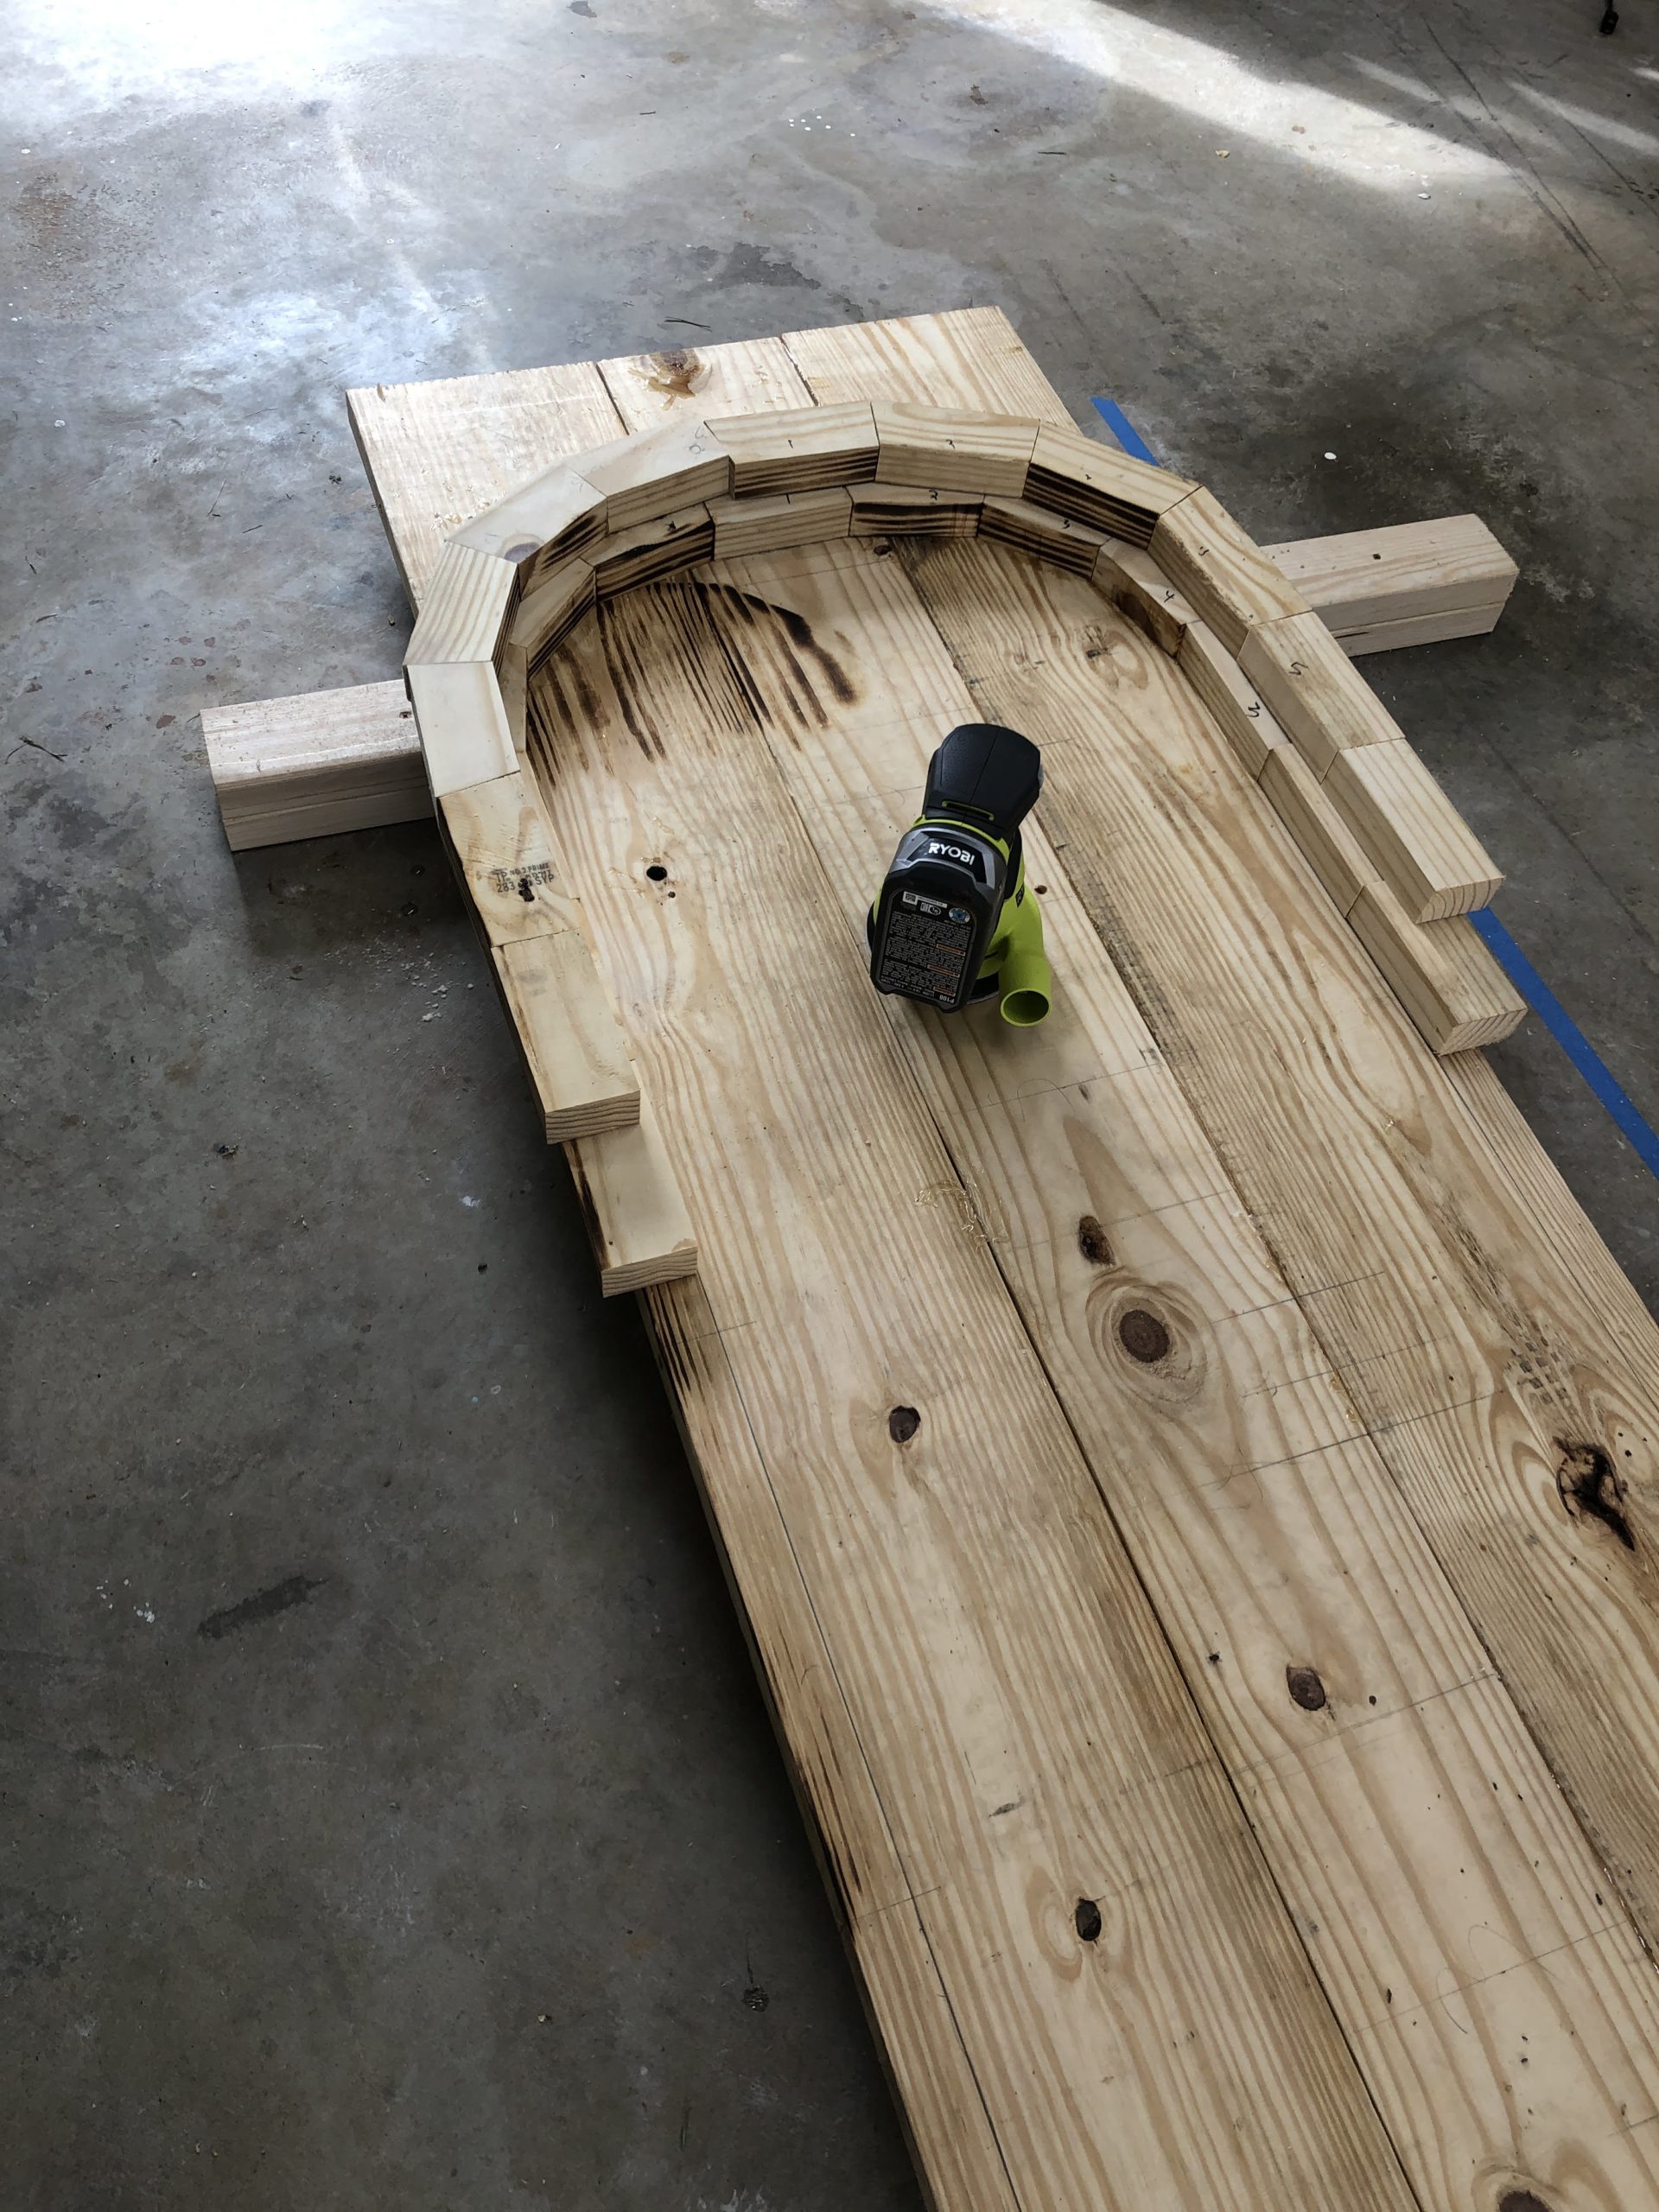
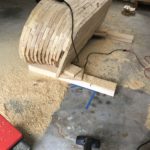
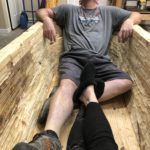
The plan started with a tape outline and a piece of wood on the ground. I made the angle of the back at 35 degrees. Roughly the same as most bath tubs.
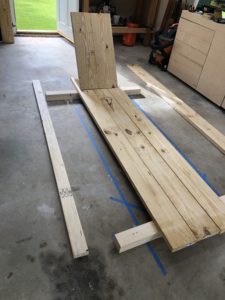
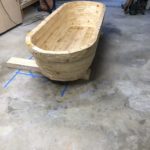
I then started to plan out the base. I glued 2 – 2x10x8 and 1 2x8x8 yellow pine boards for the bottom. This picture is of 3 2x8x8 but after fitting them together I wanted a tad more space plus room to build up the walls.
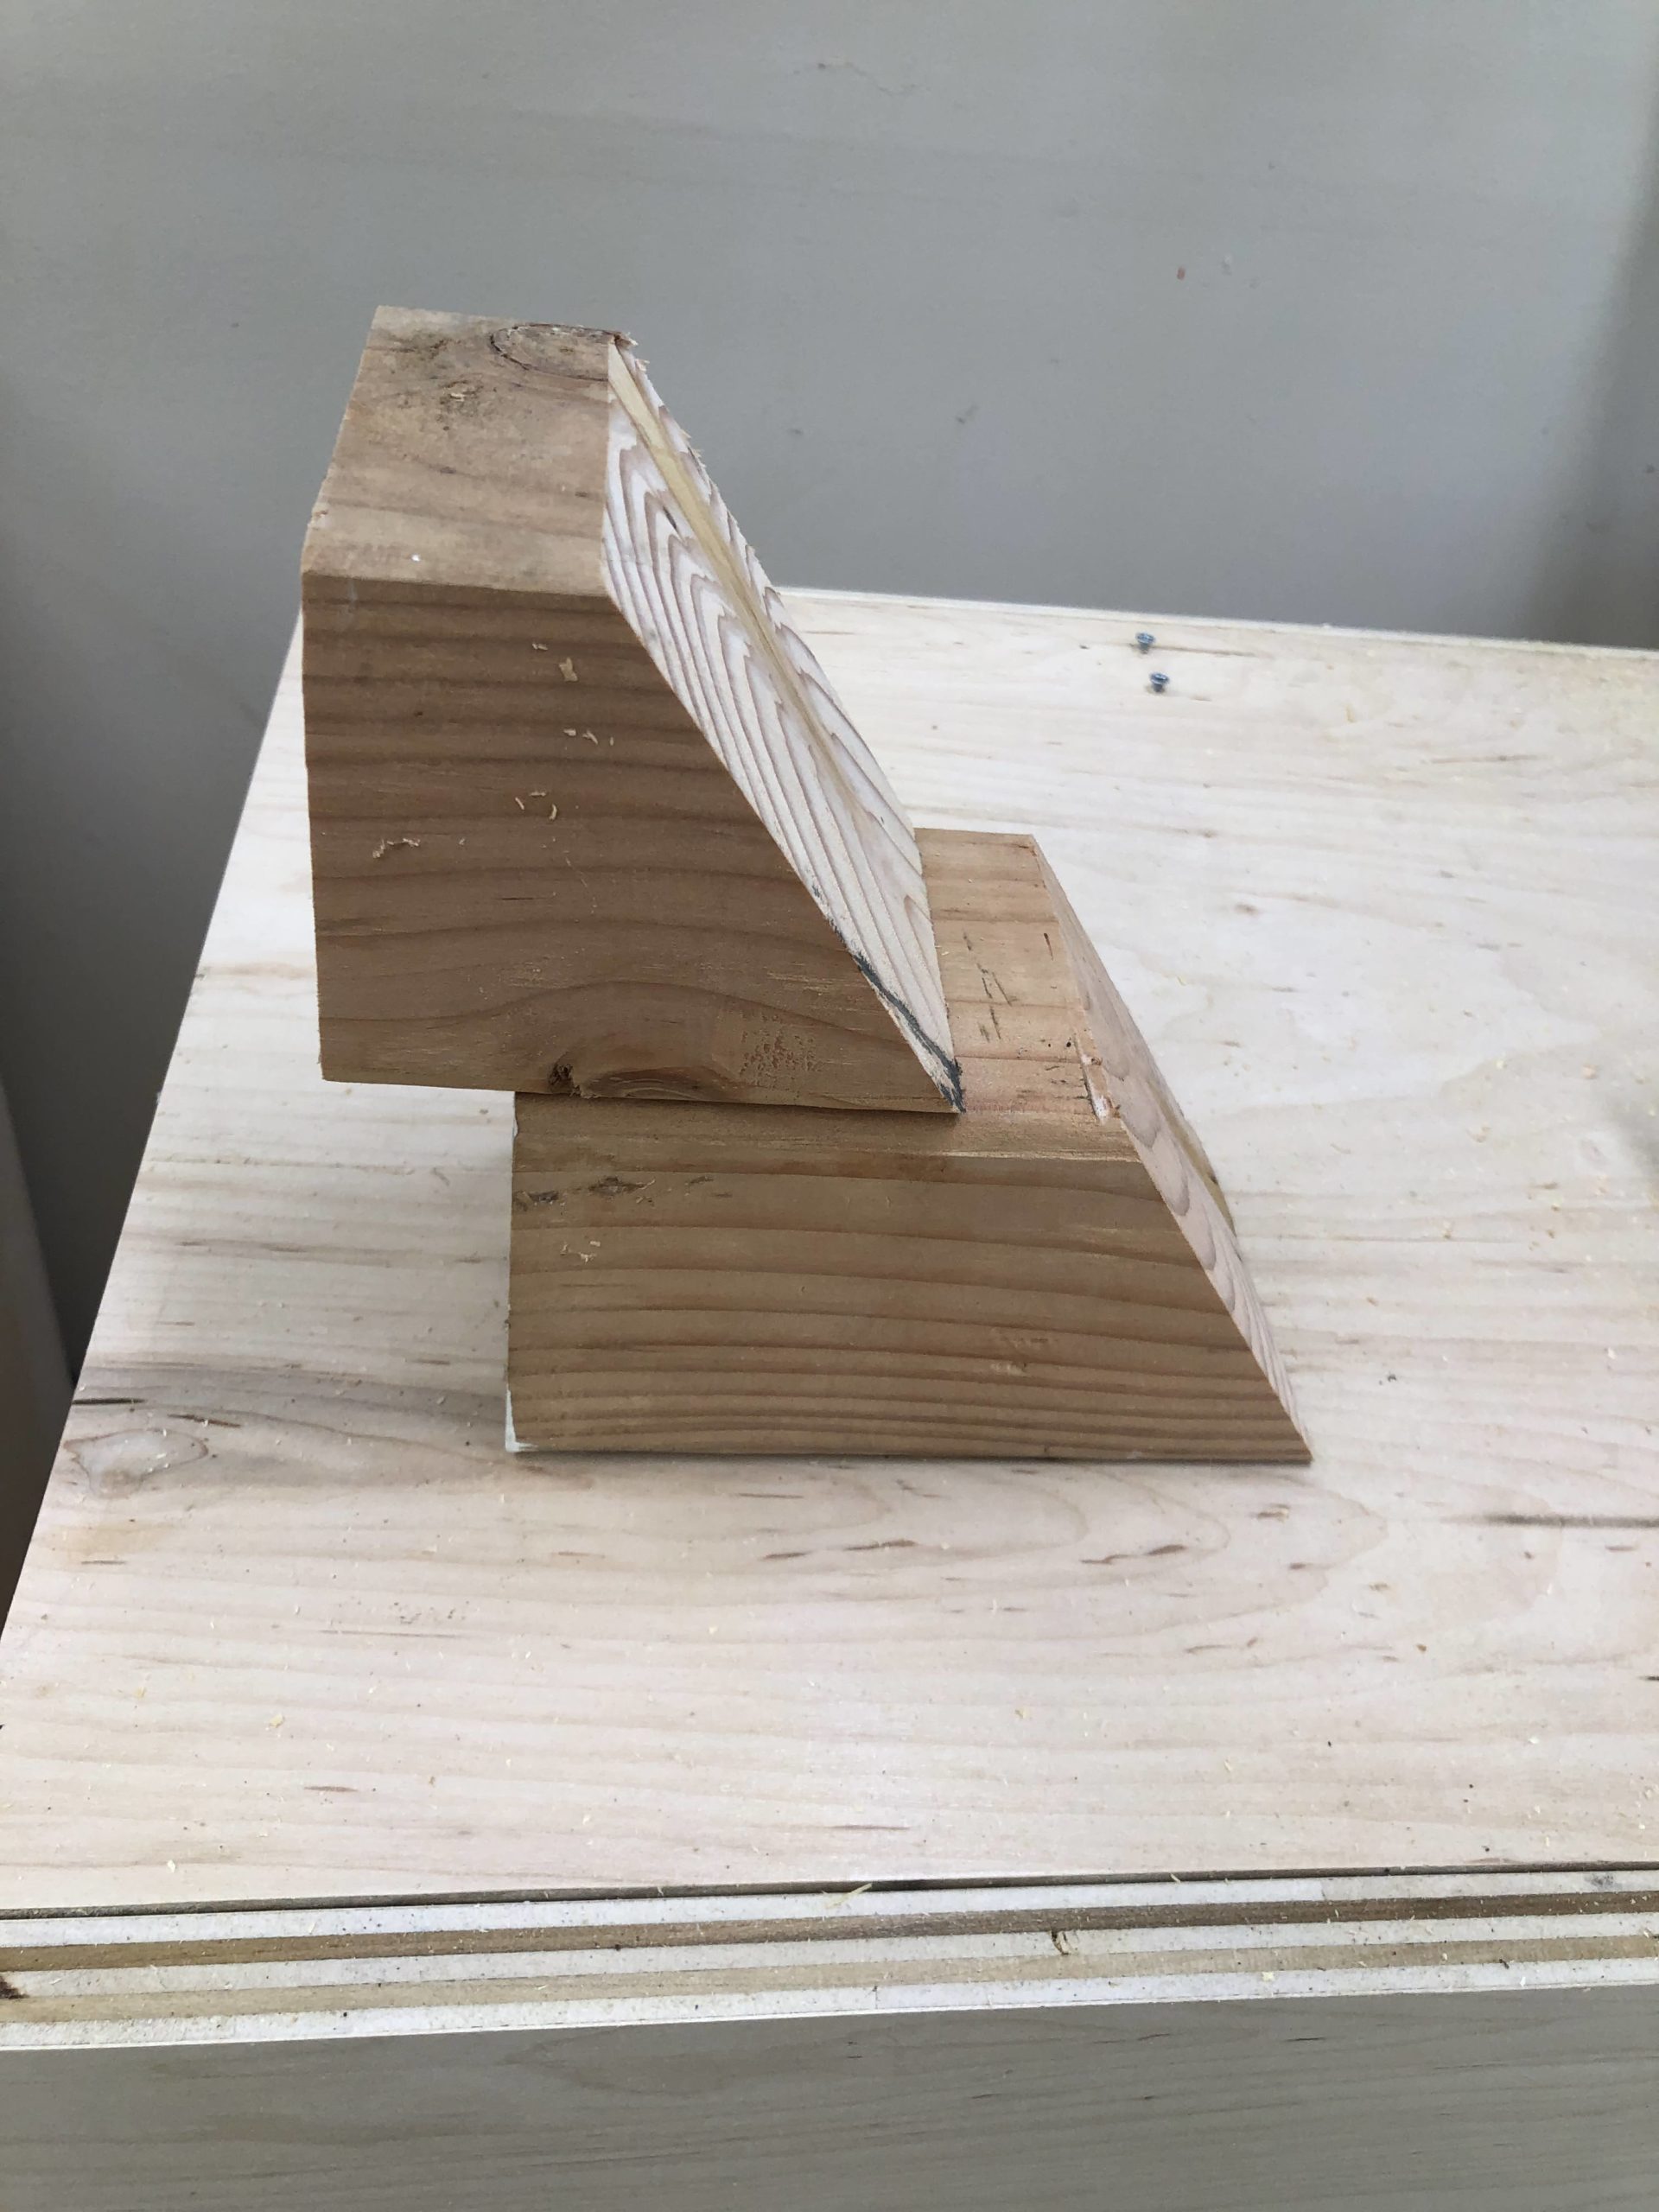
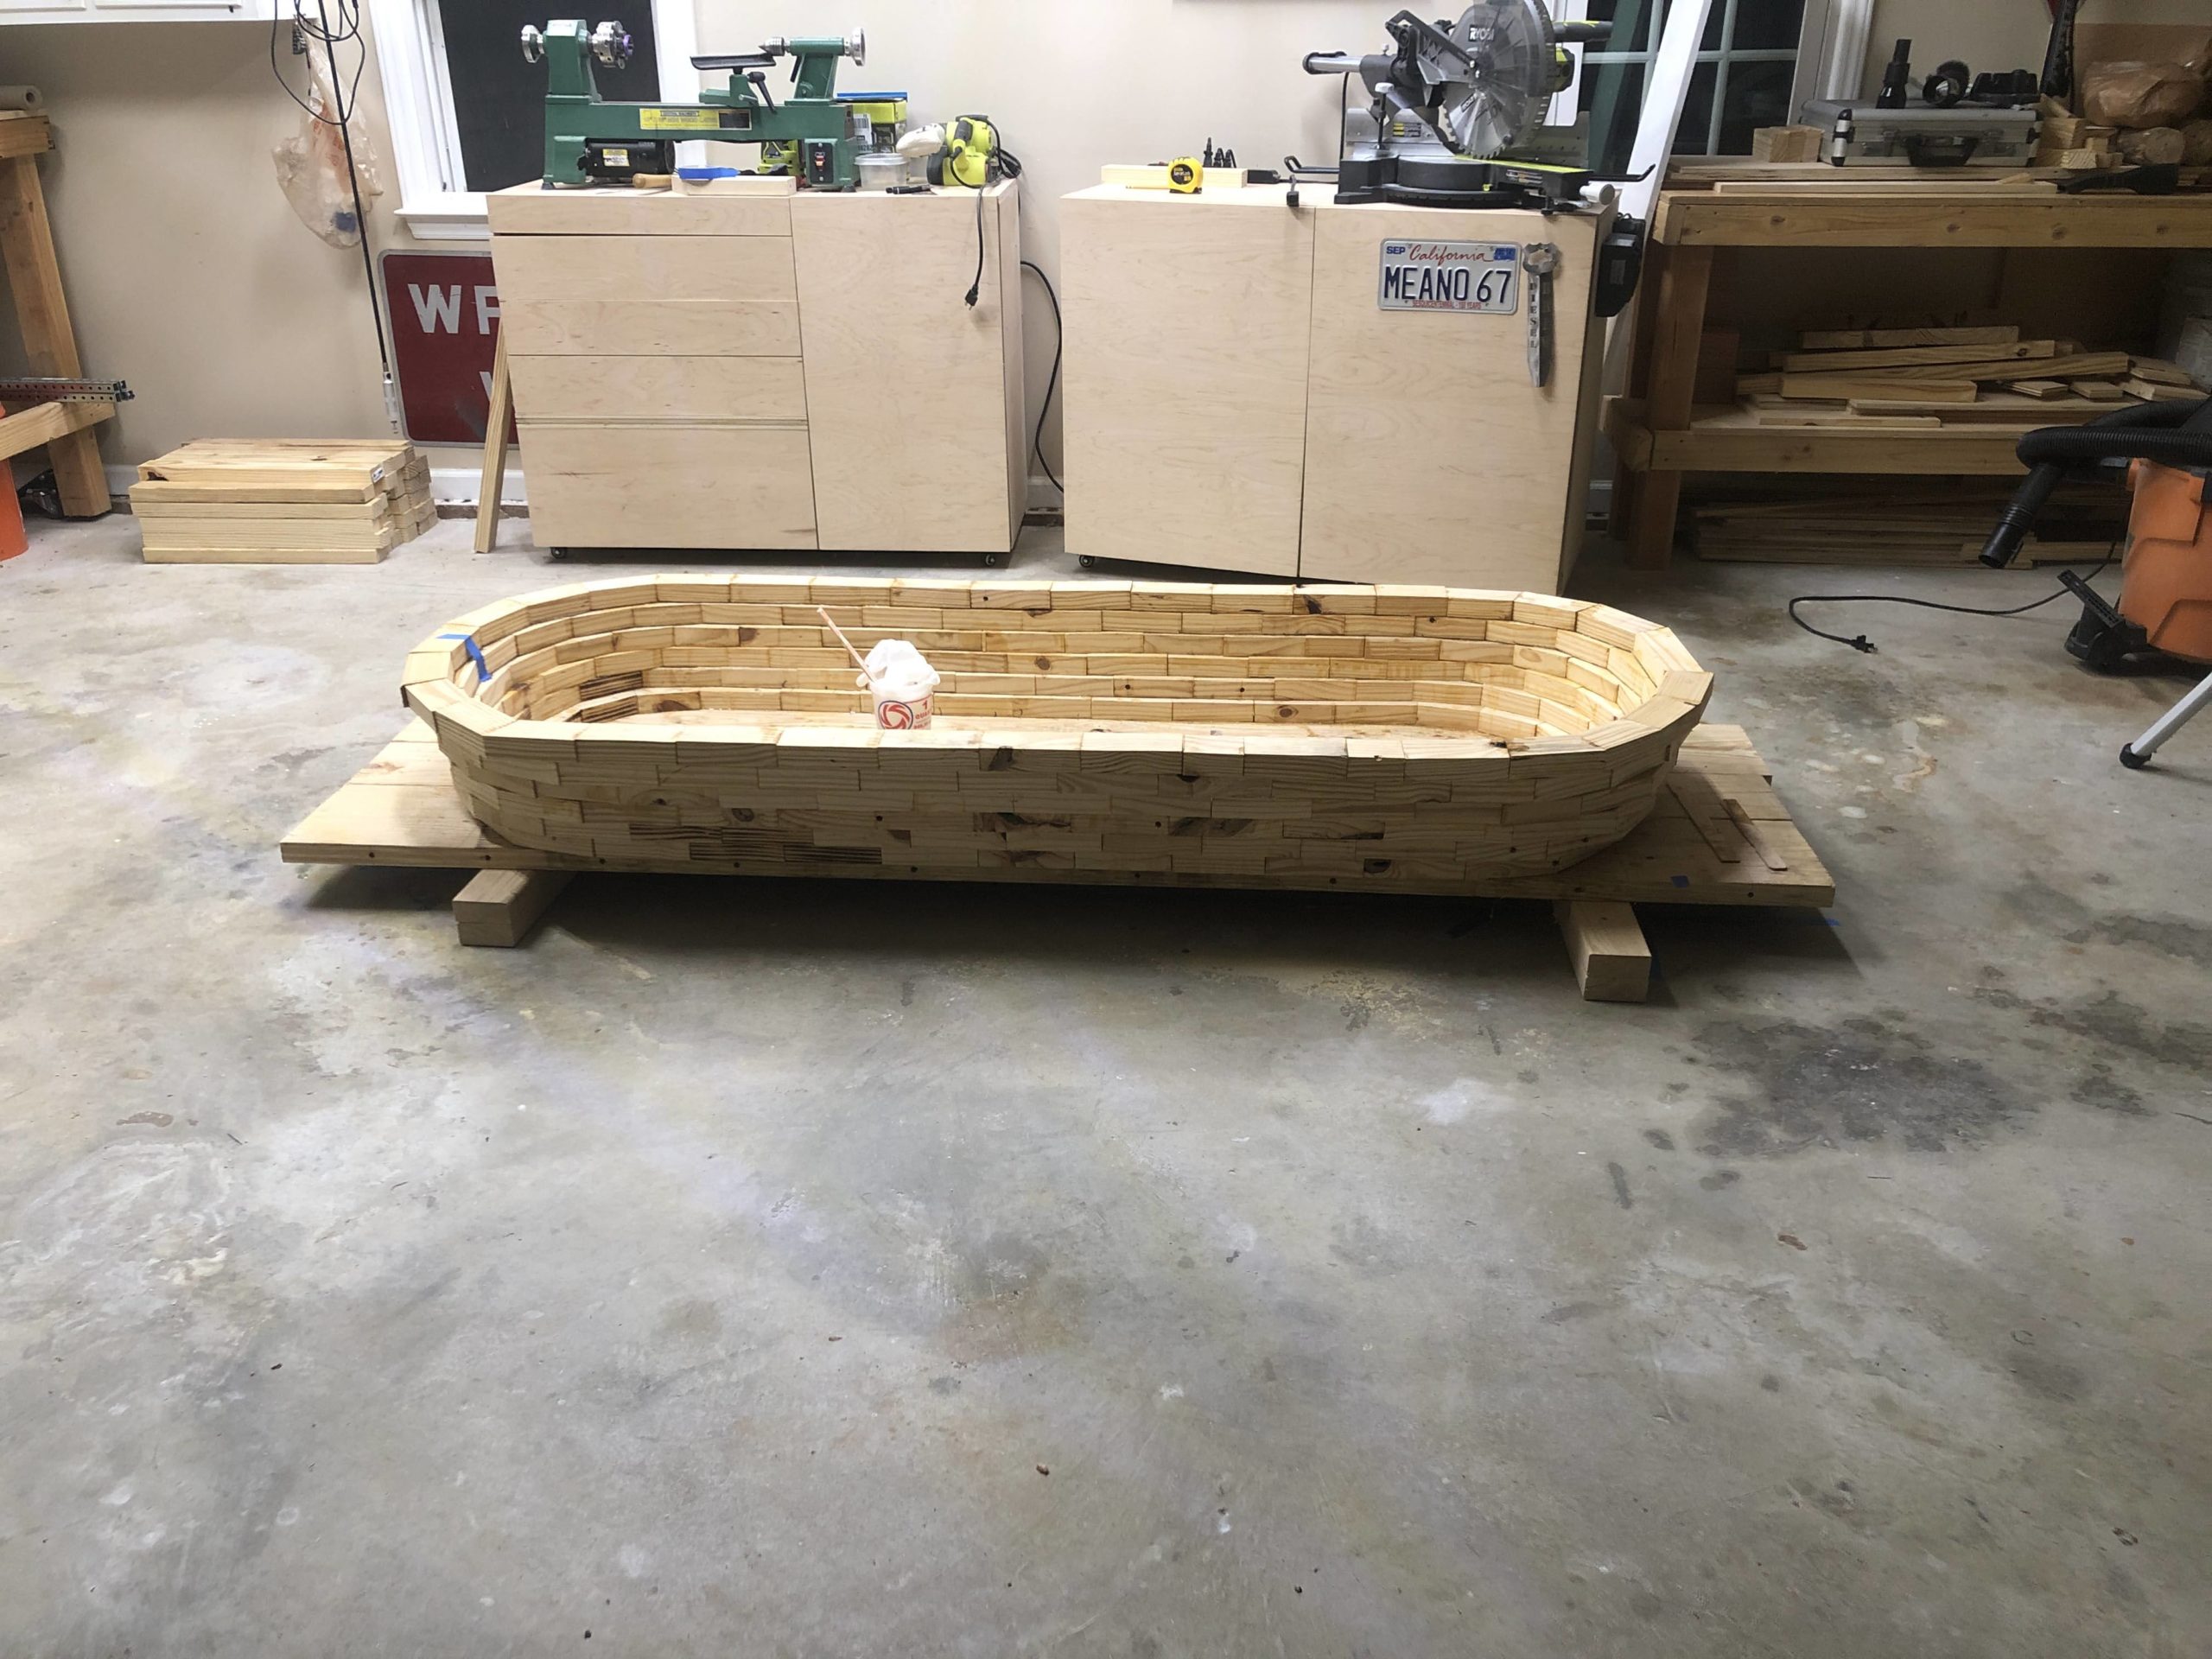
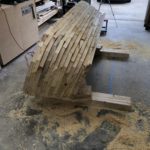
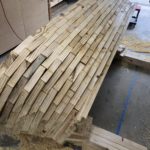
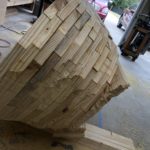
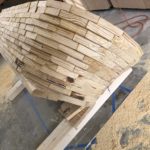
Time to start making the walls/sides of the tub. This part took me some time until I finally settled on a brick type of pattern. I wanted to use full length board but that would be too hard to make the curves for front and back. I experimented with 4×4’s but those were douglas fir and the color sucked. I ended up taking 2x10x8’s and ripping / cross cutting them into small 2×6 inch blocks. Then around the ends for the curves i would cut each piece to fit.


Building
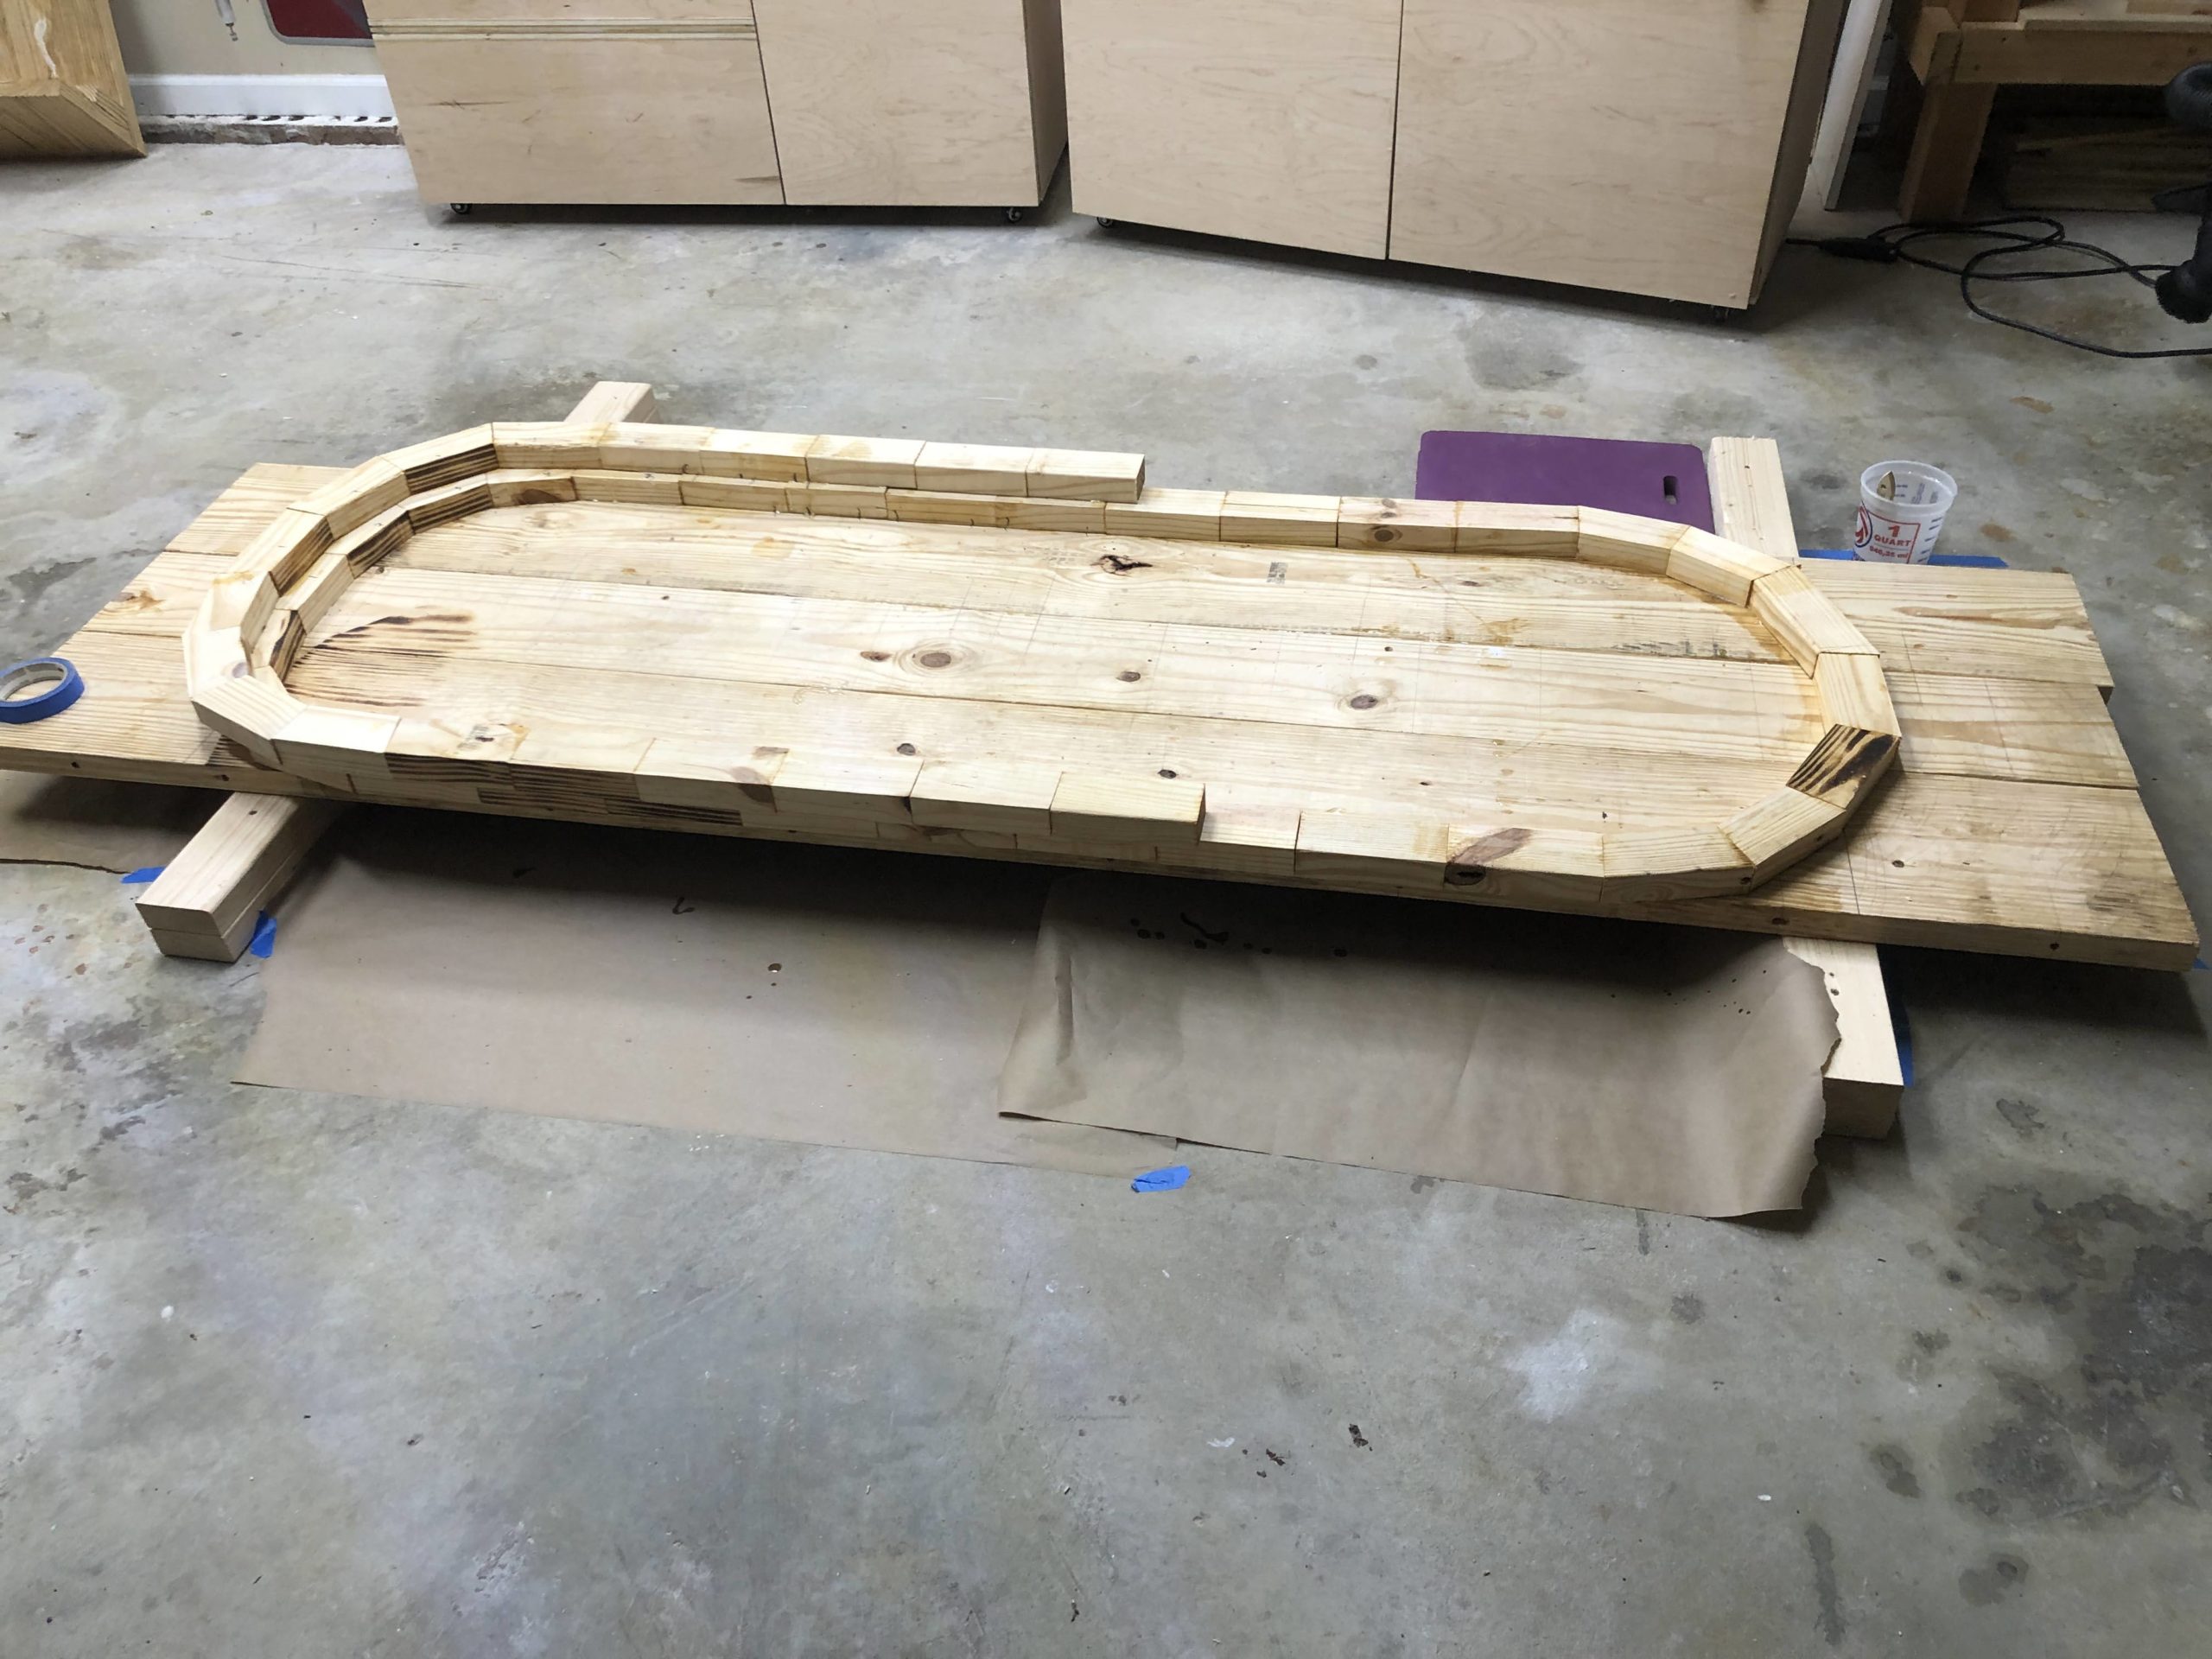
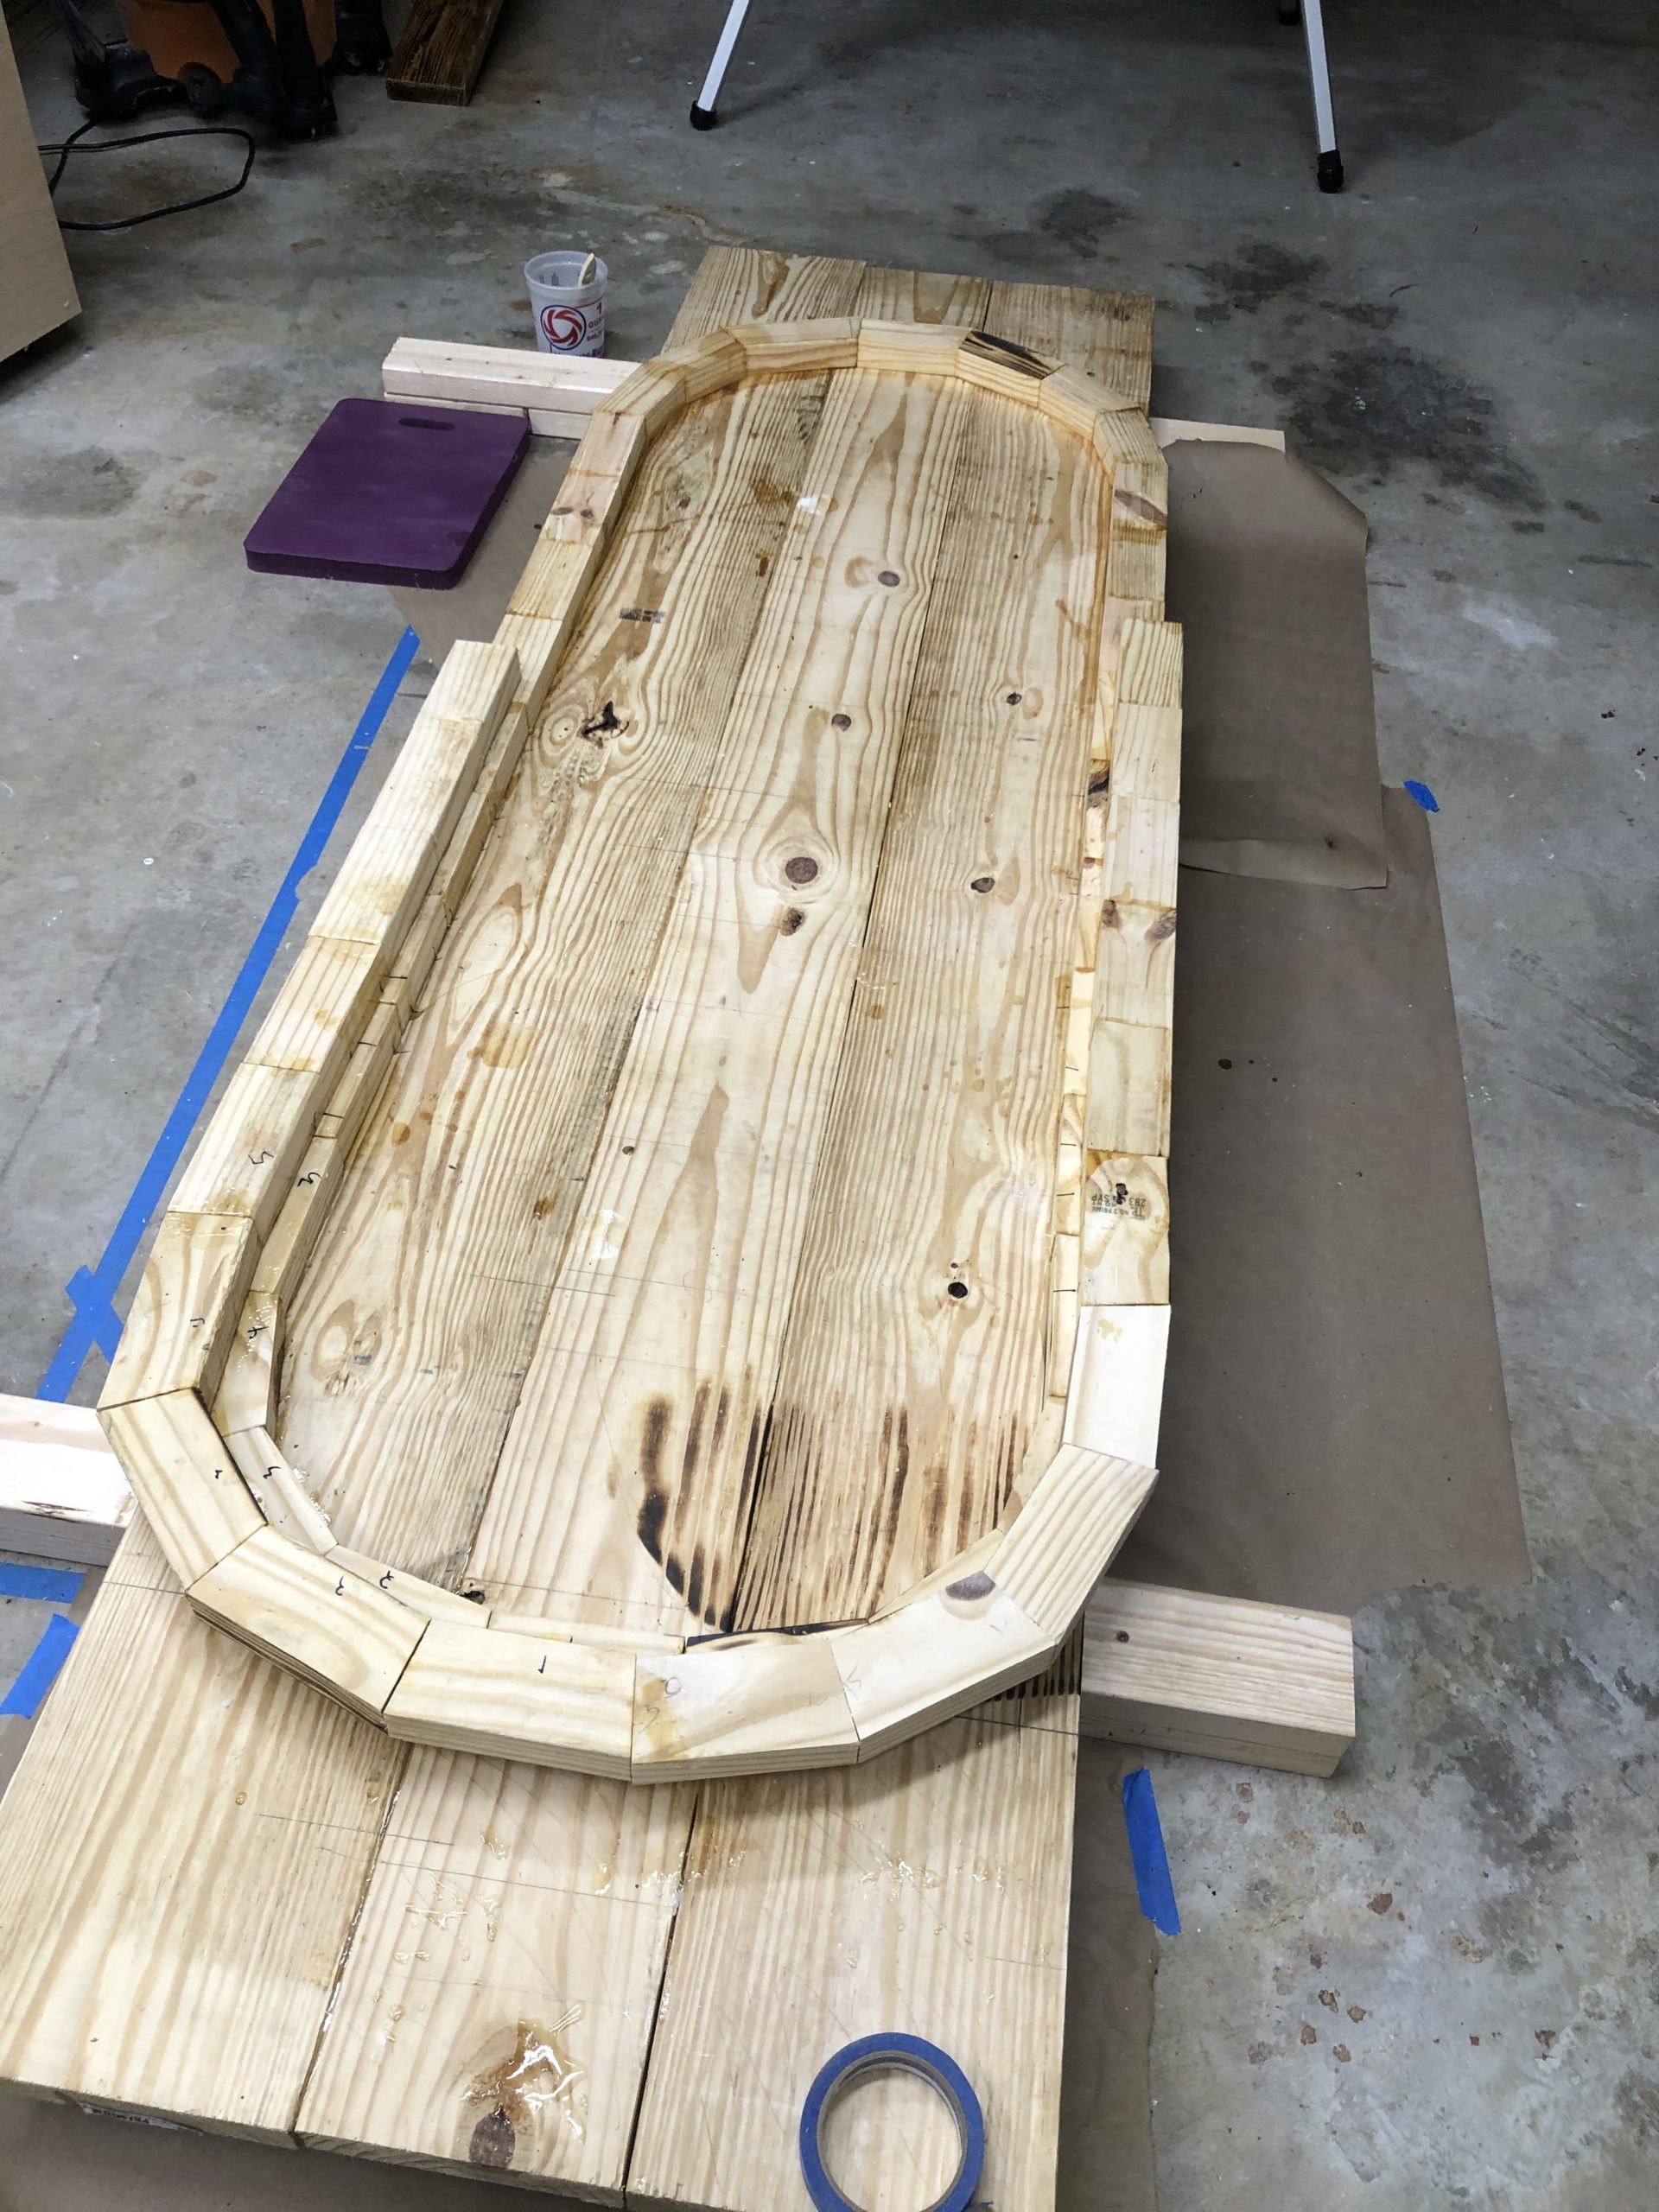
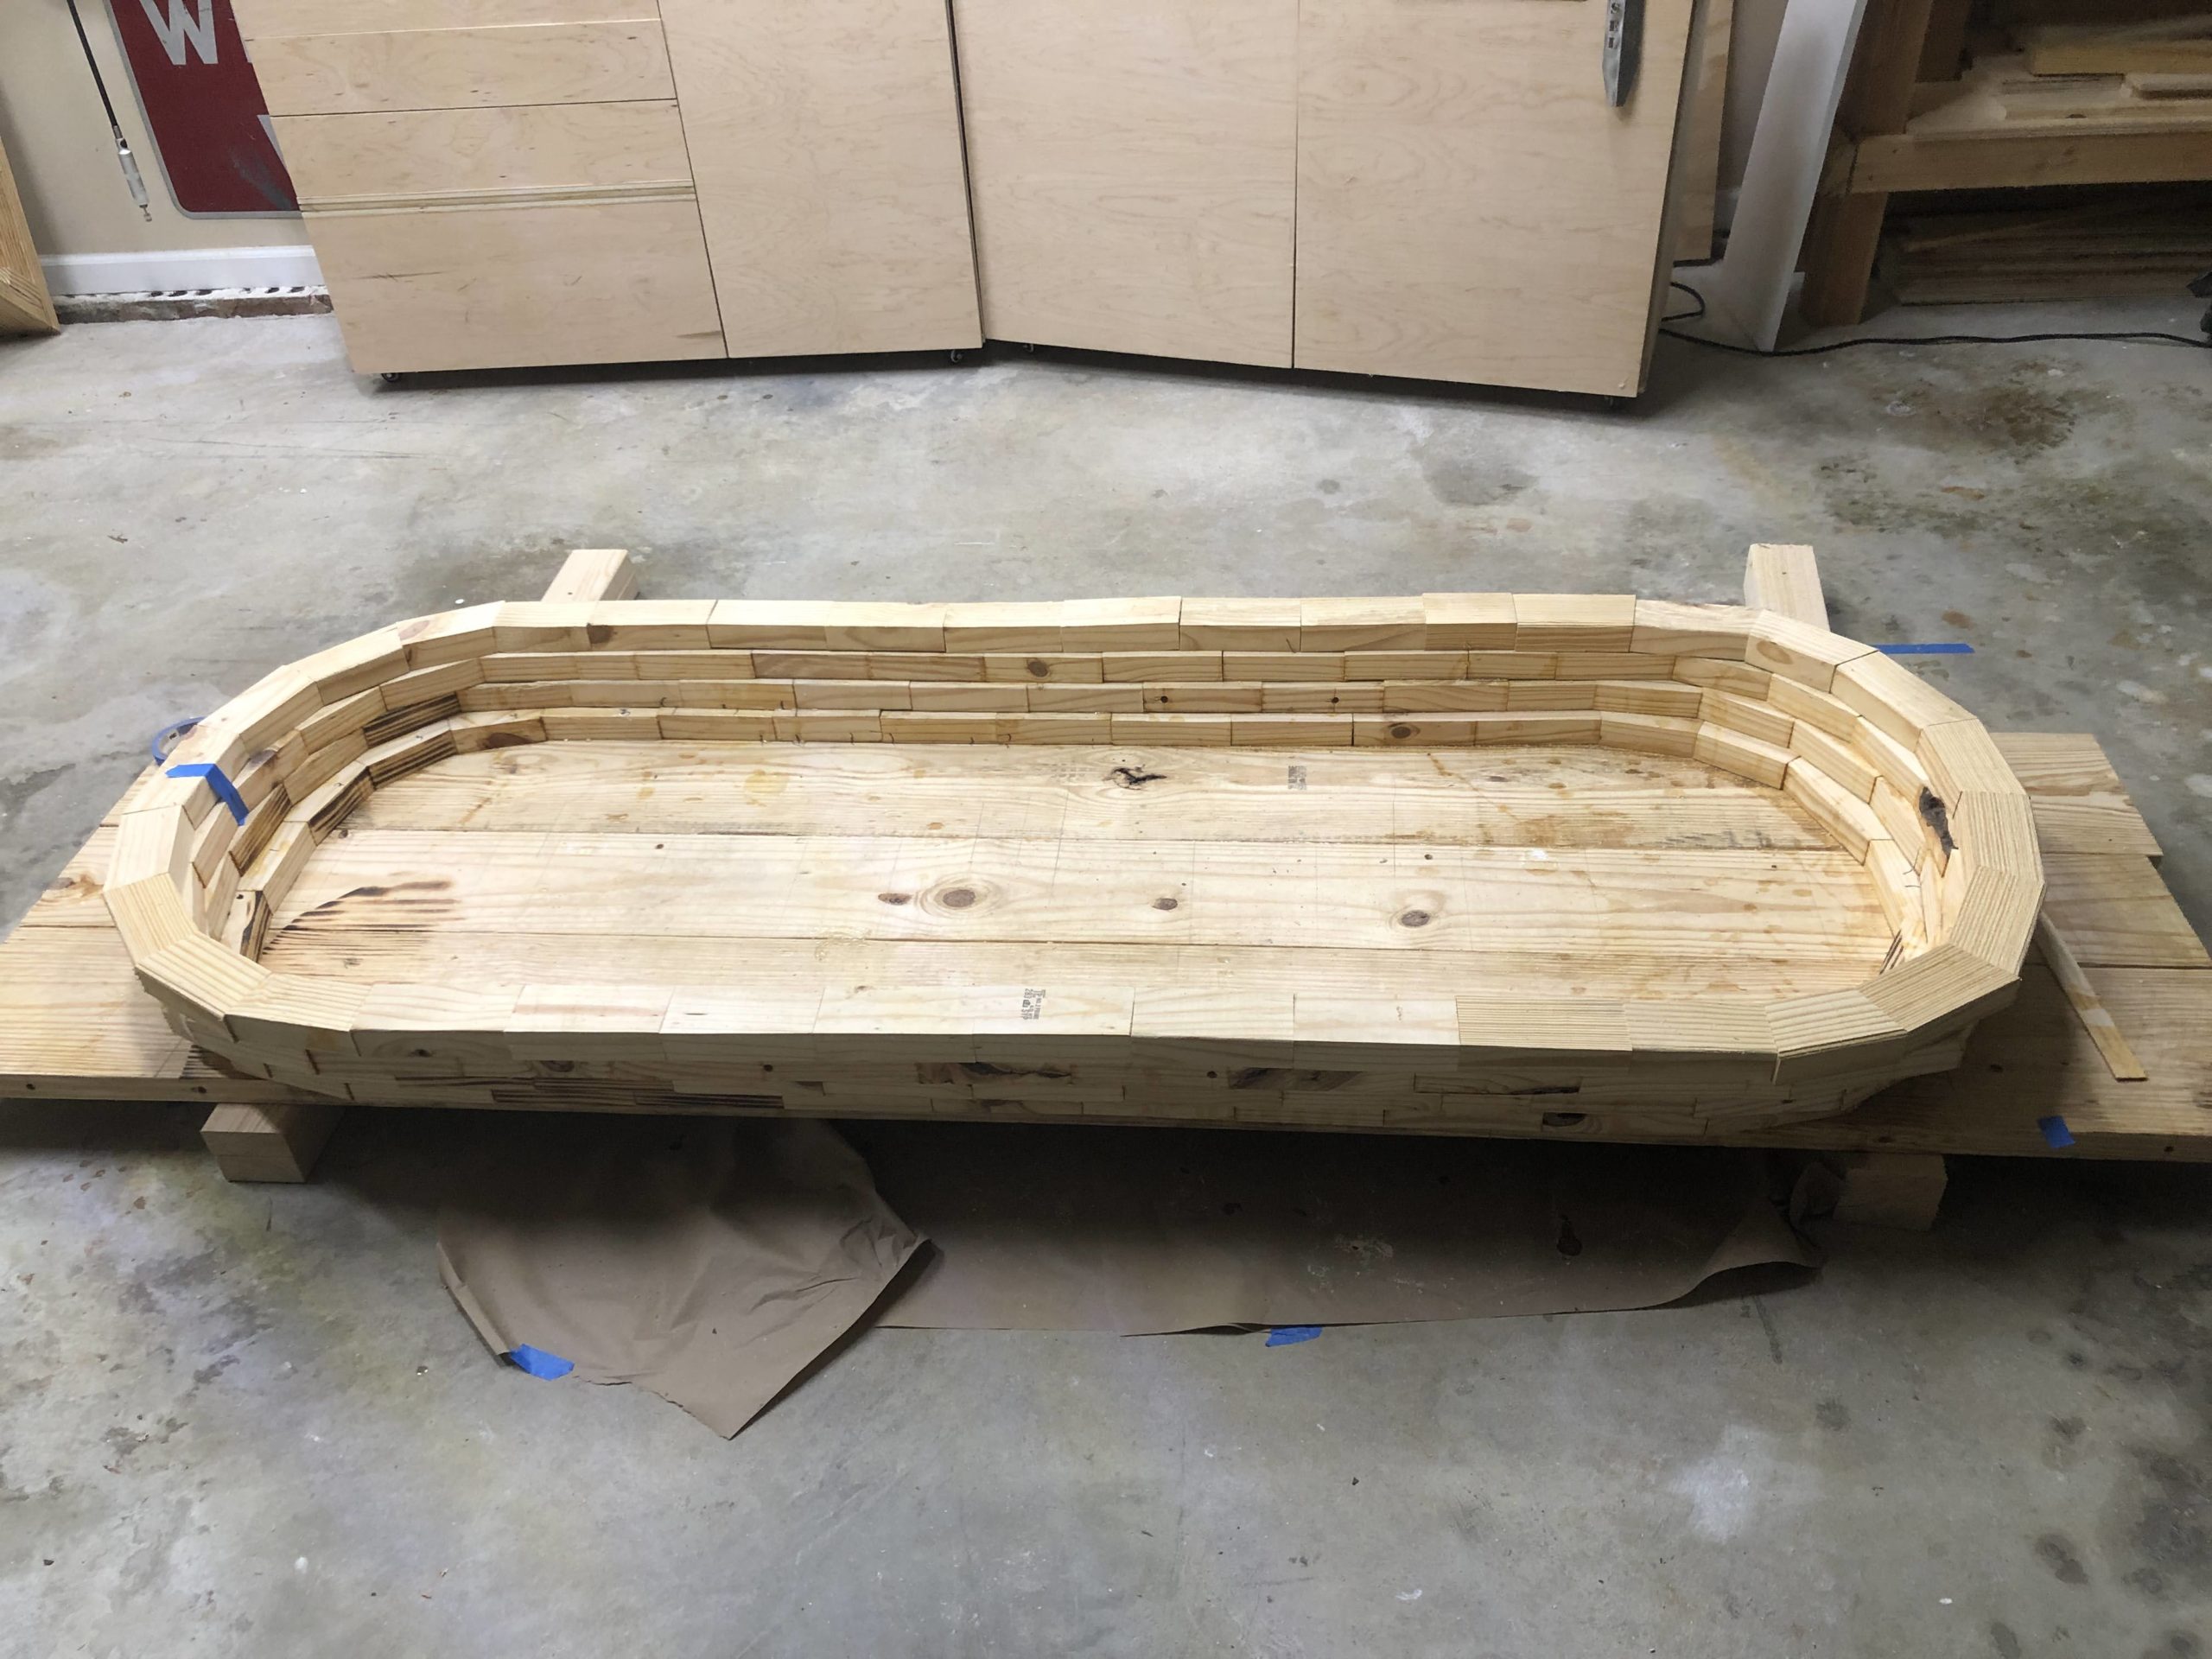
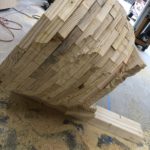
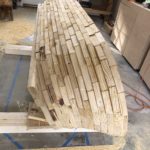
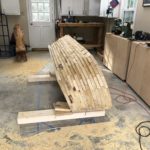
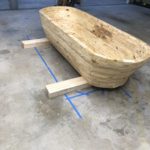
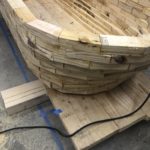
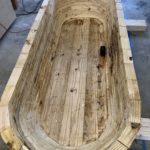
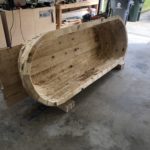
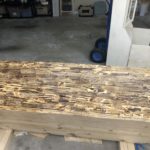
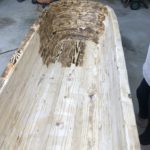
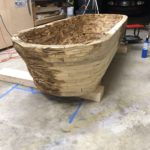
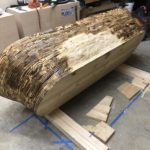
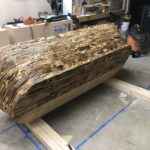
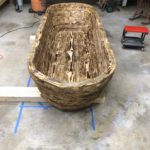
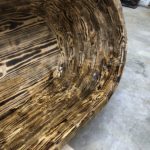
Over the next couple of weeks I cut and glued 1 layer a day roughly. I used Total Boat epoxy to glue each layer together. There are 12 layers of 2″x6″ blocks. Each block on the curve ends had to be cut to size and angle 1 by 1 to fit. I did not use any fancy joinery between each layer, just epoxy. The boards/blocks were not planed either (this wasn’t a good idea). The wood hot tub is approximately 18″ deep. Then depth is great but version 2 will increase the depth to 20″ by adding 2 additional layers.

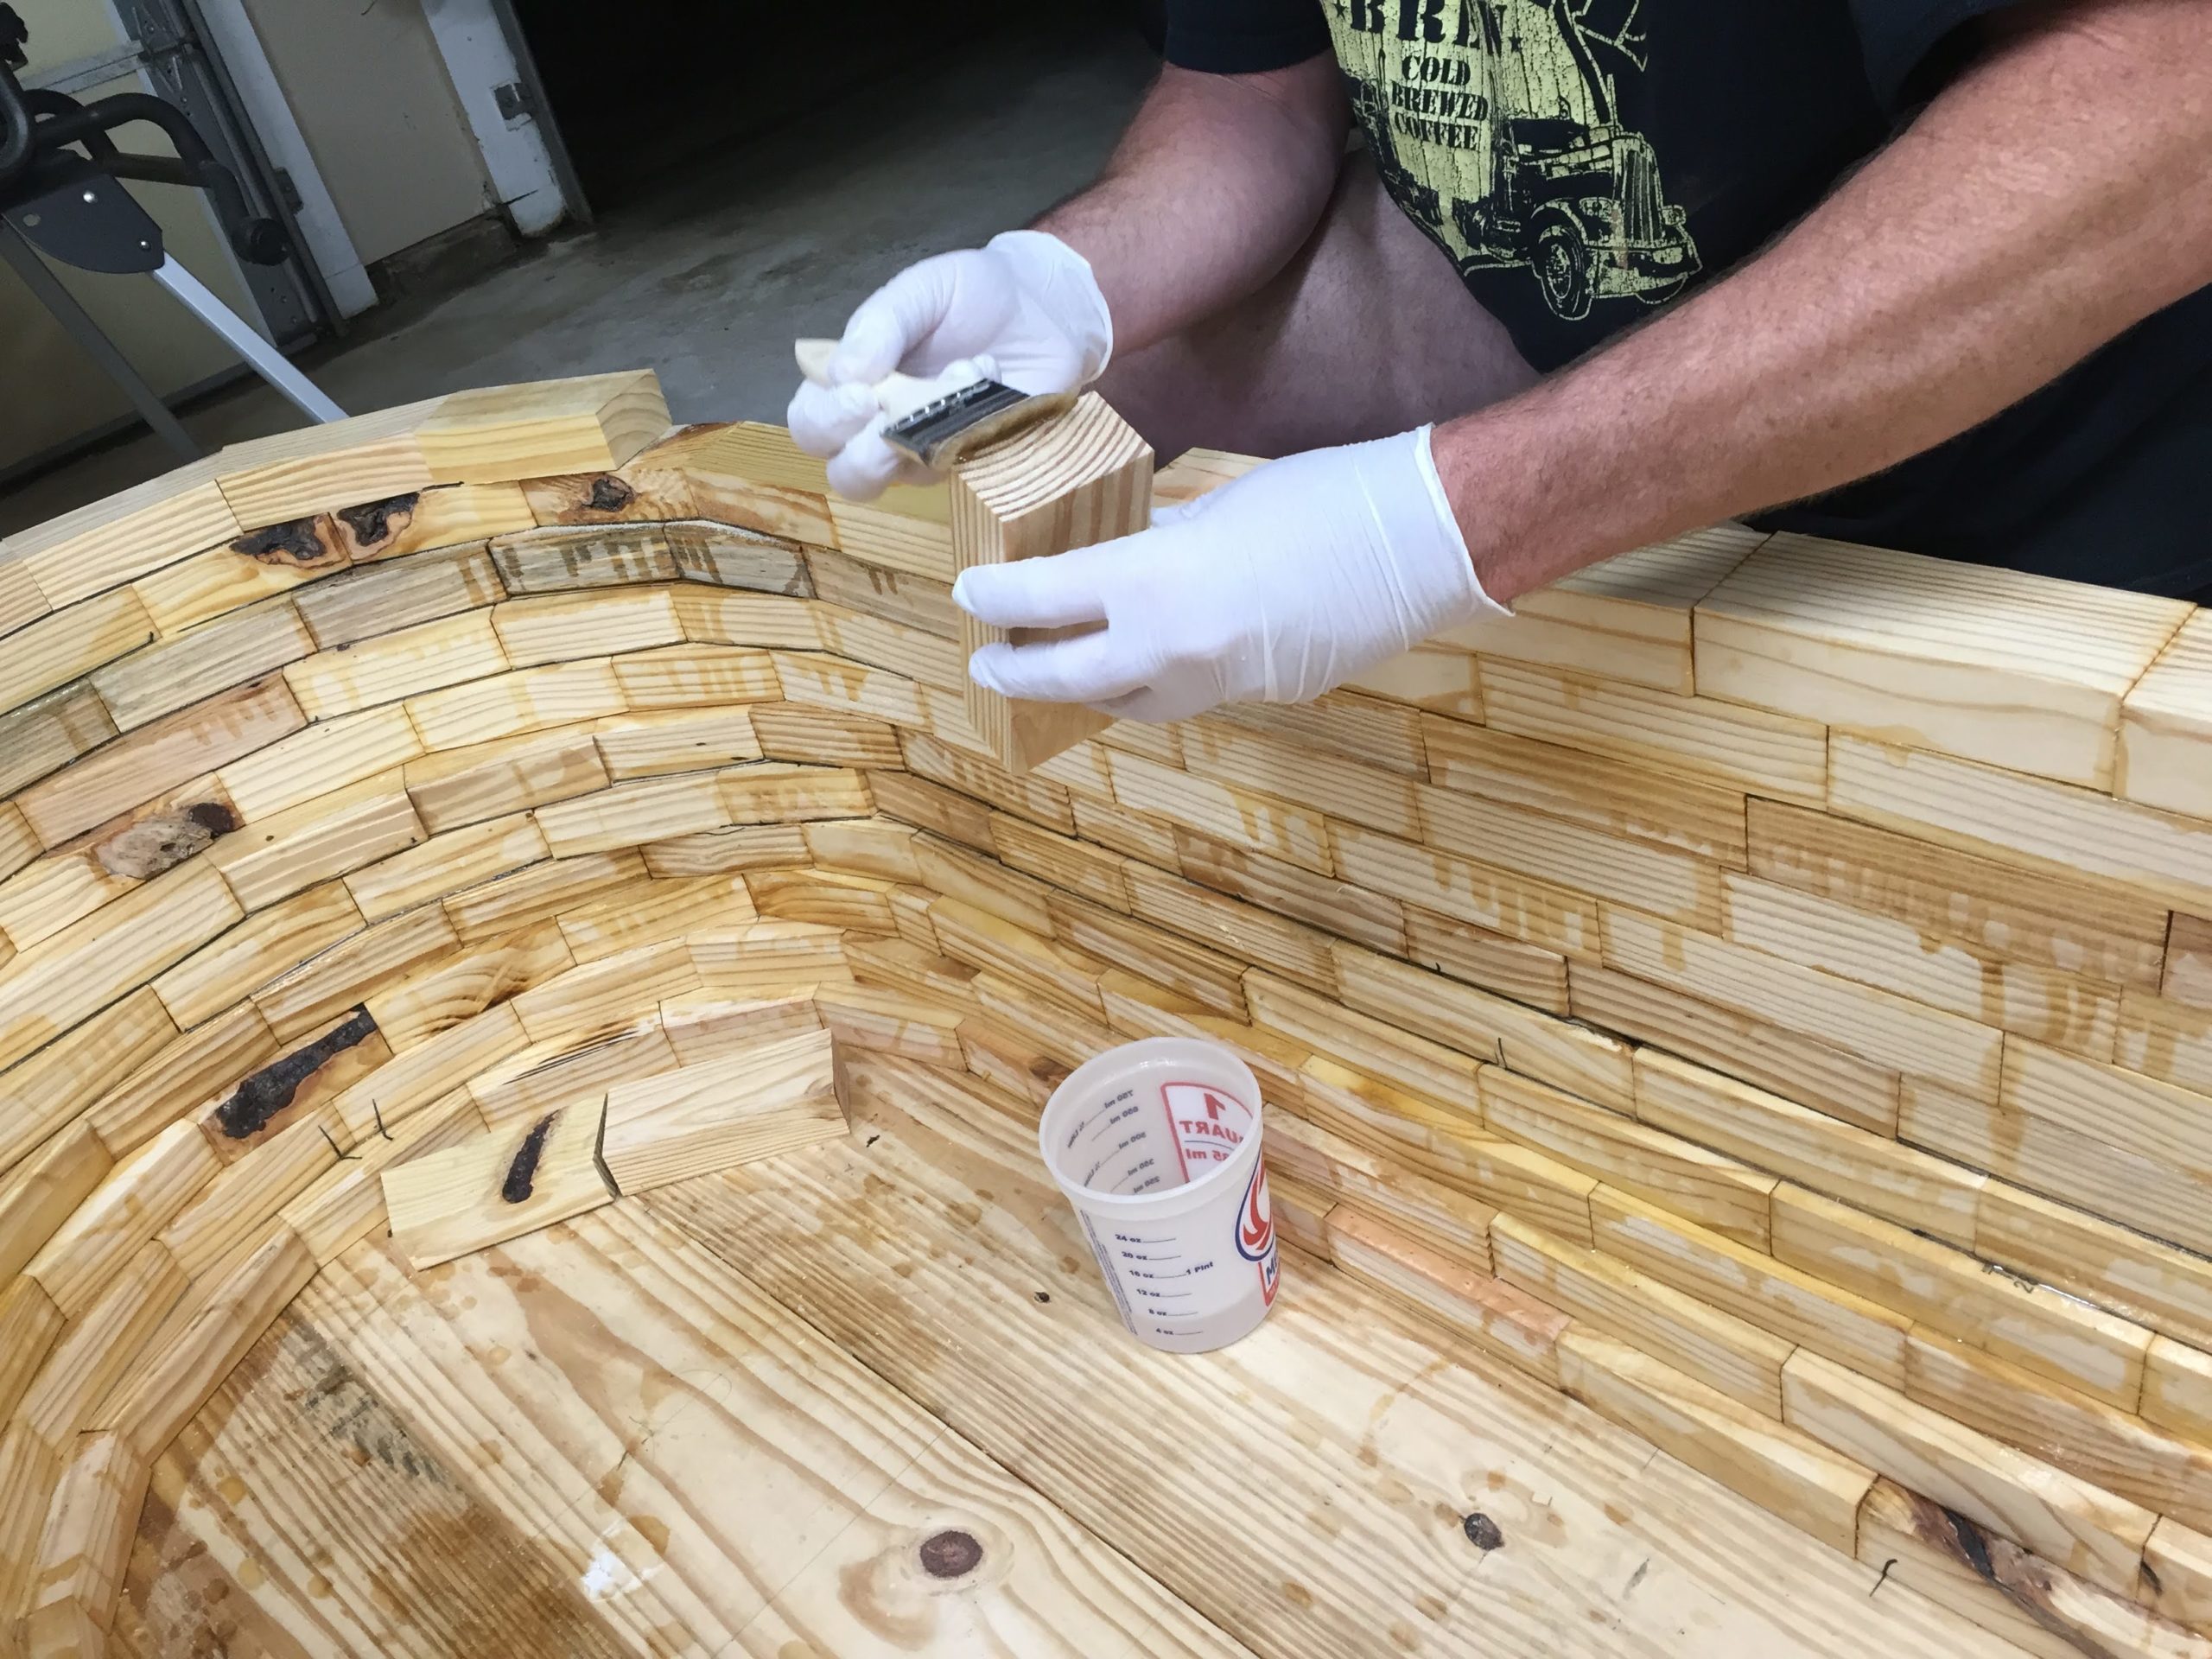
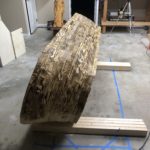
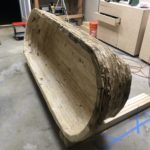
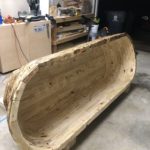
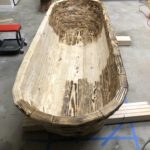
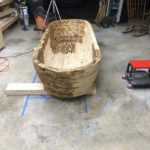
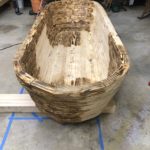
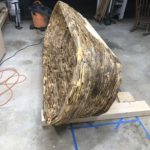
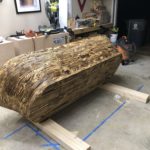
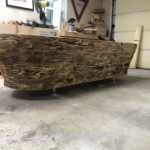
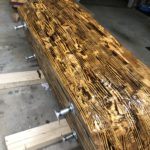
Shaping
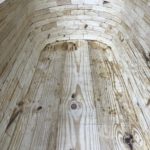
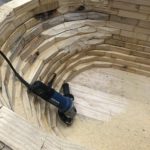
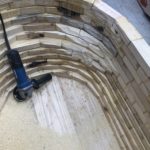
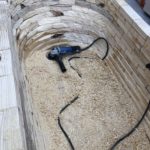
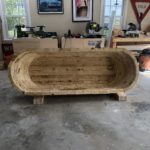
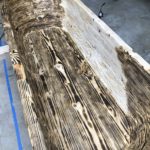
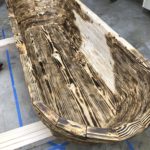
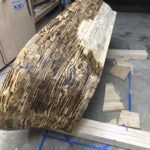
Now the wood hot tub has it’s basic shape I start grinding using an angel grinder with an Arbortech Turboplane attachment.


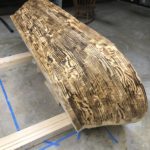
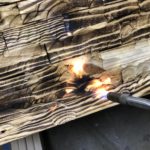
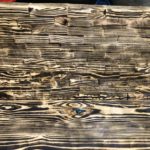
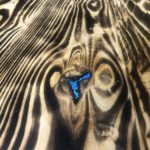
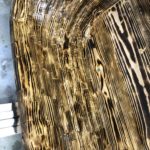
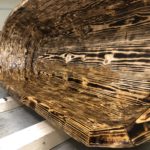
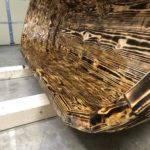
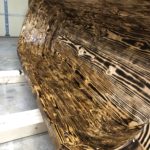
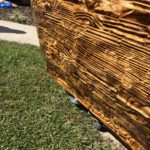
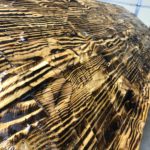
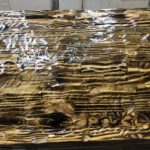
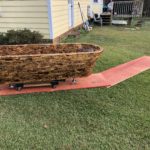
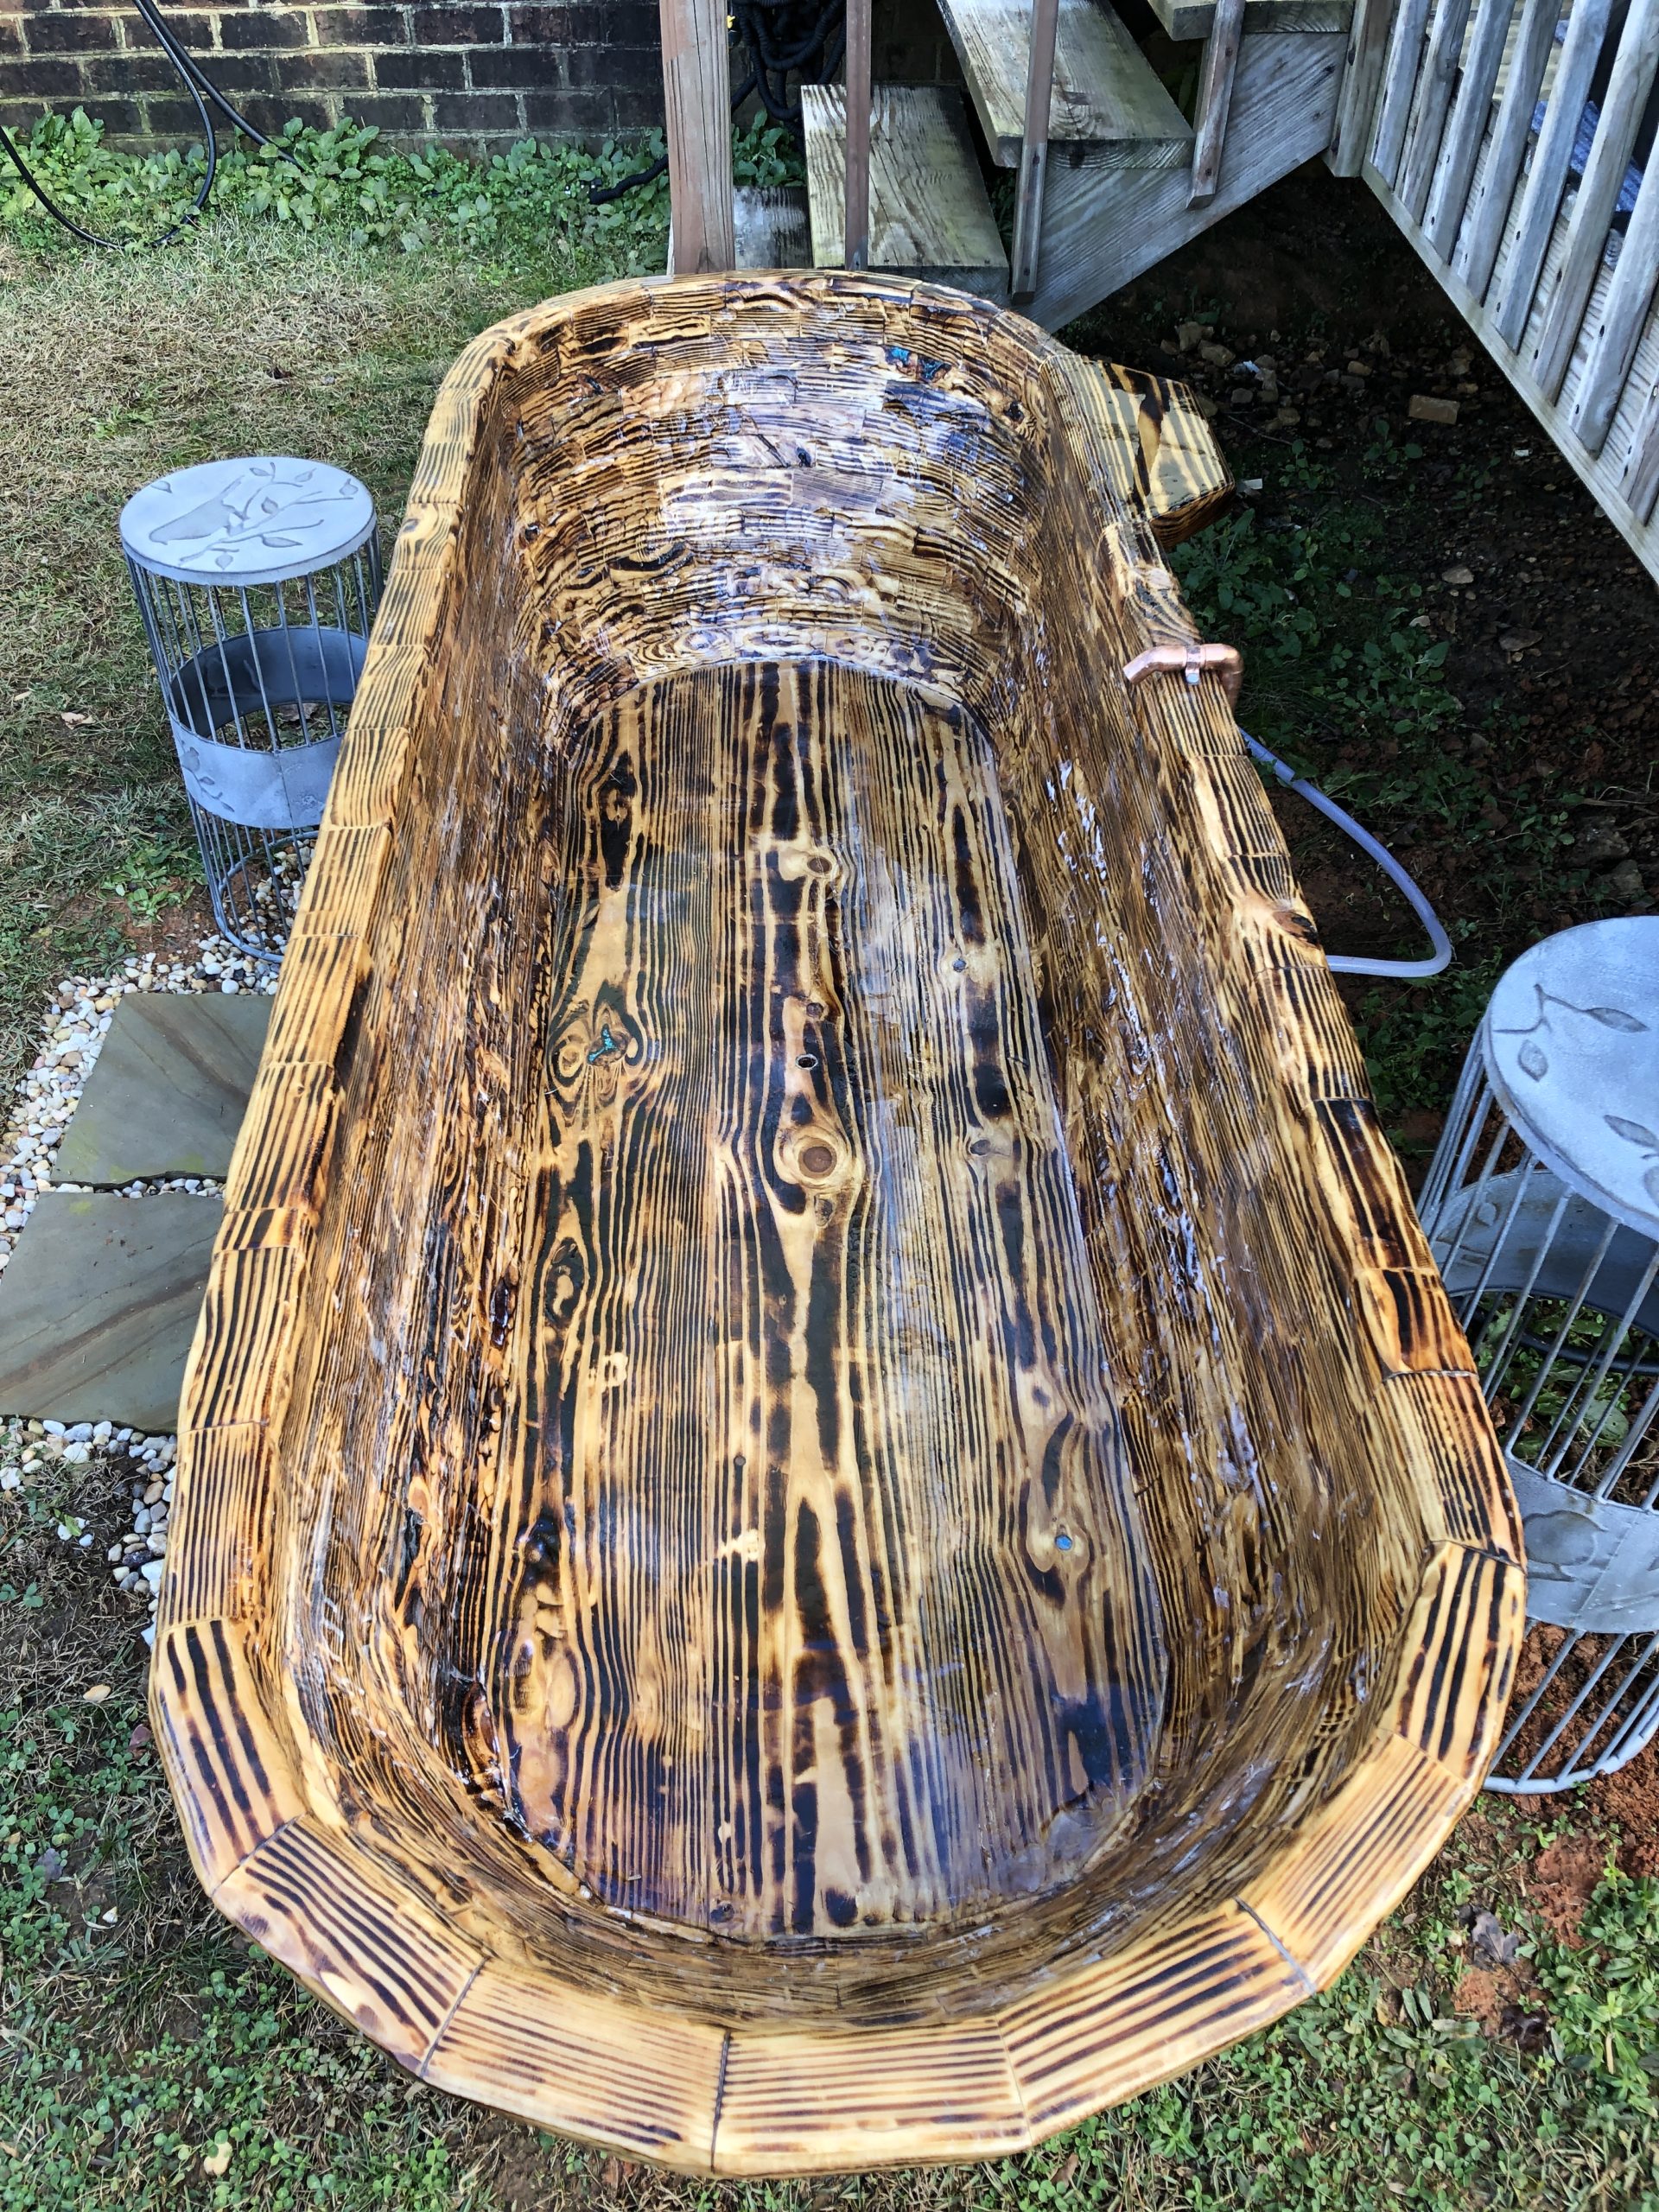
Painting with Fire
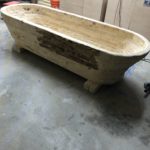
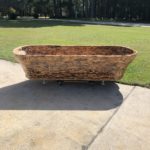
The wooden hot tub now needs to be painted. I decided / planned this to be a Shou Sugi Ban finish from the beginning. It turned out WAY better than I expected.


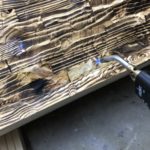
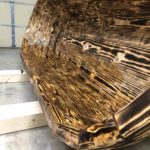
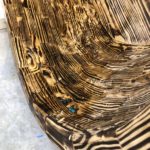
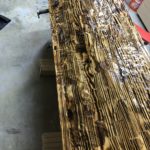
Embellishing
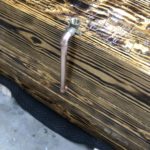
I needed to add some pops of color. I filled in some of the knot holes with synthetic crushed opal.

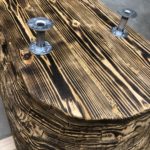
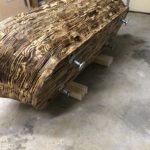
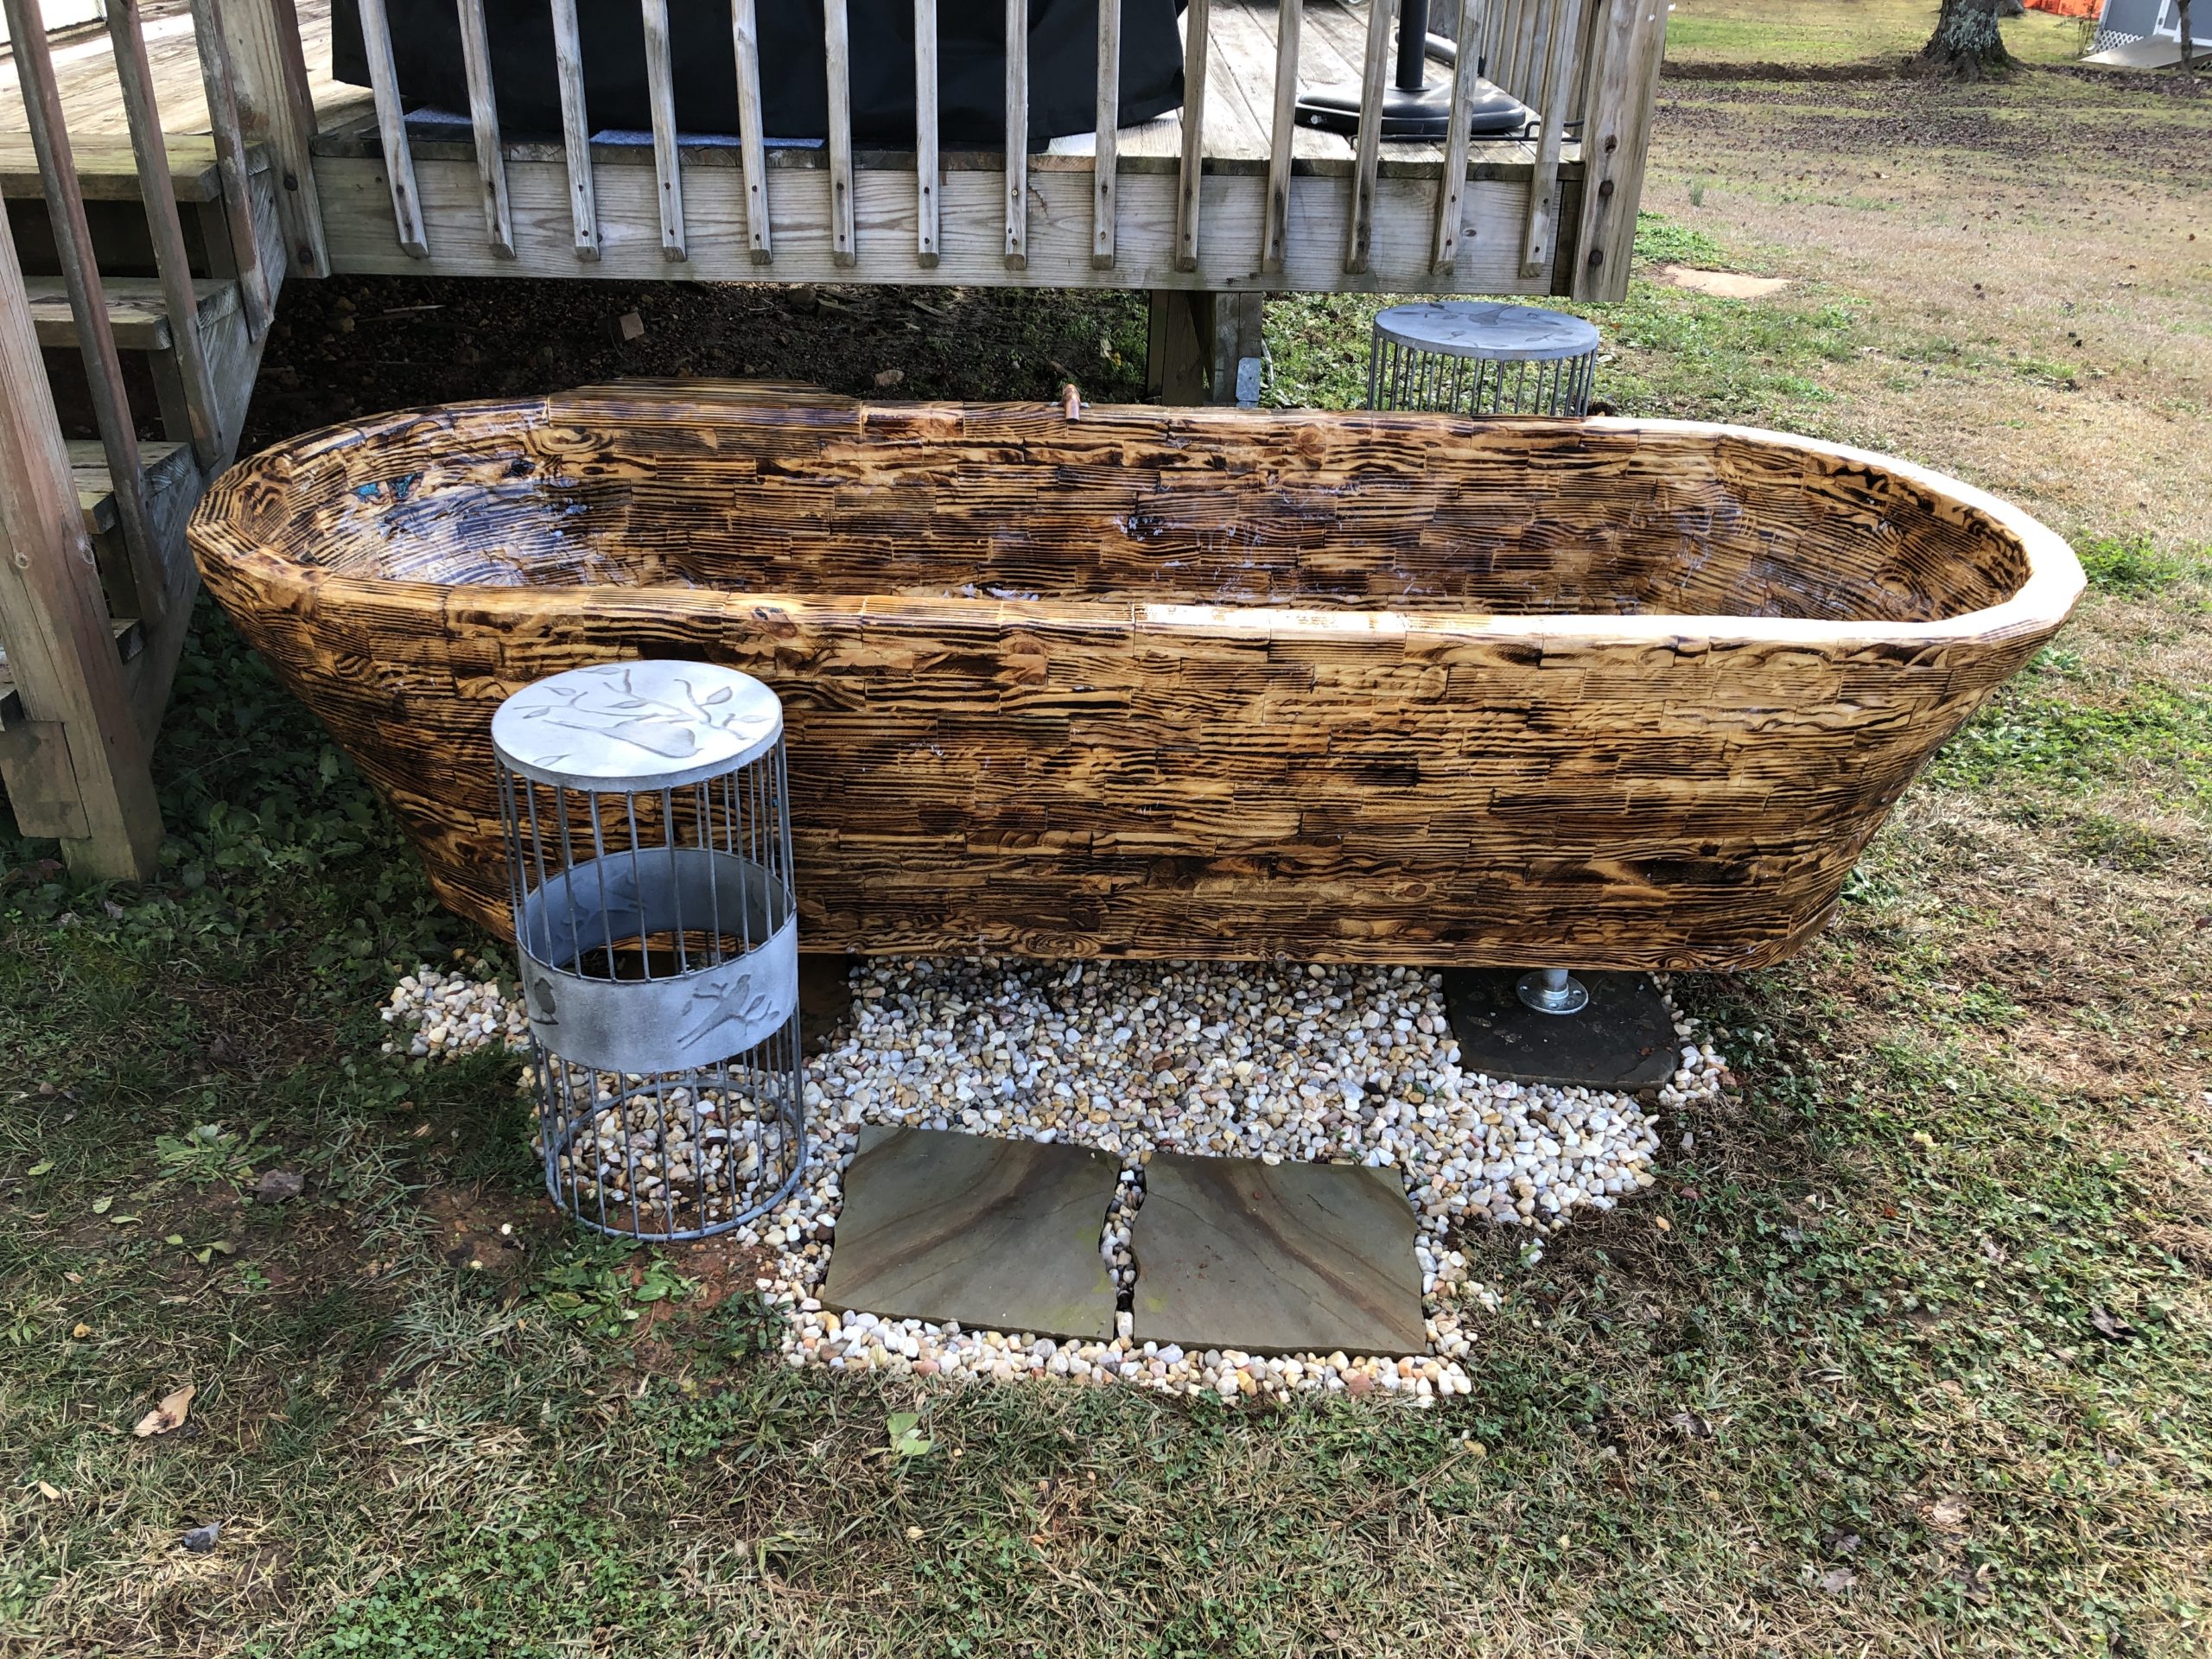
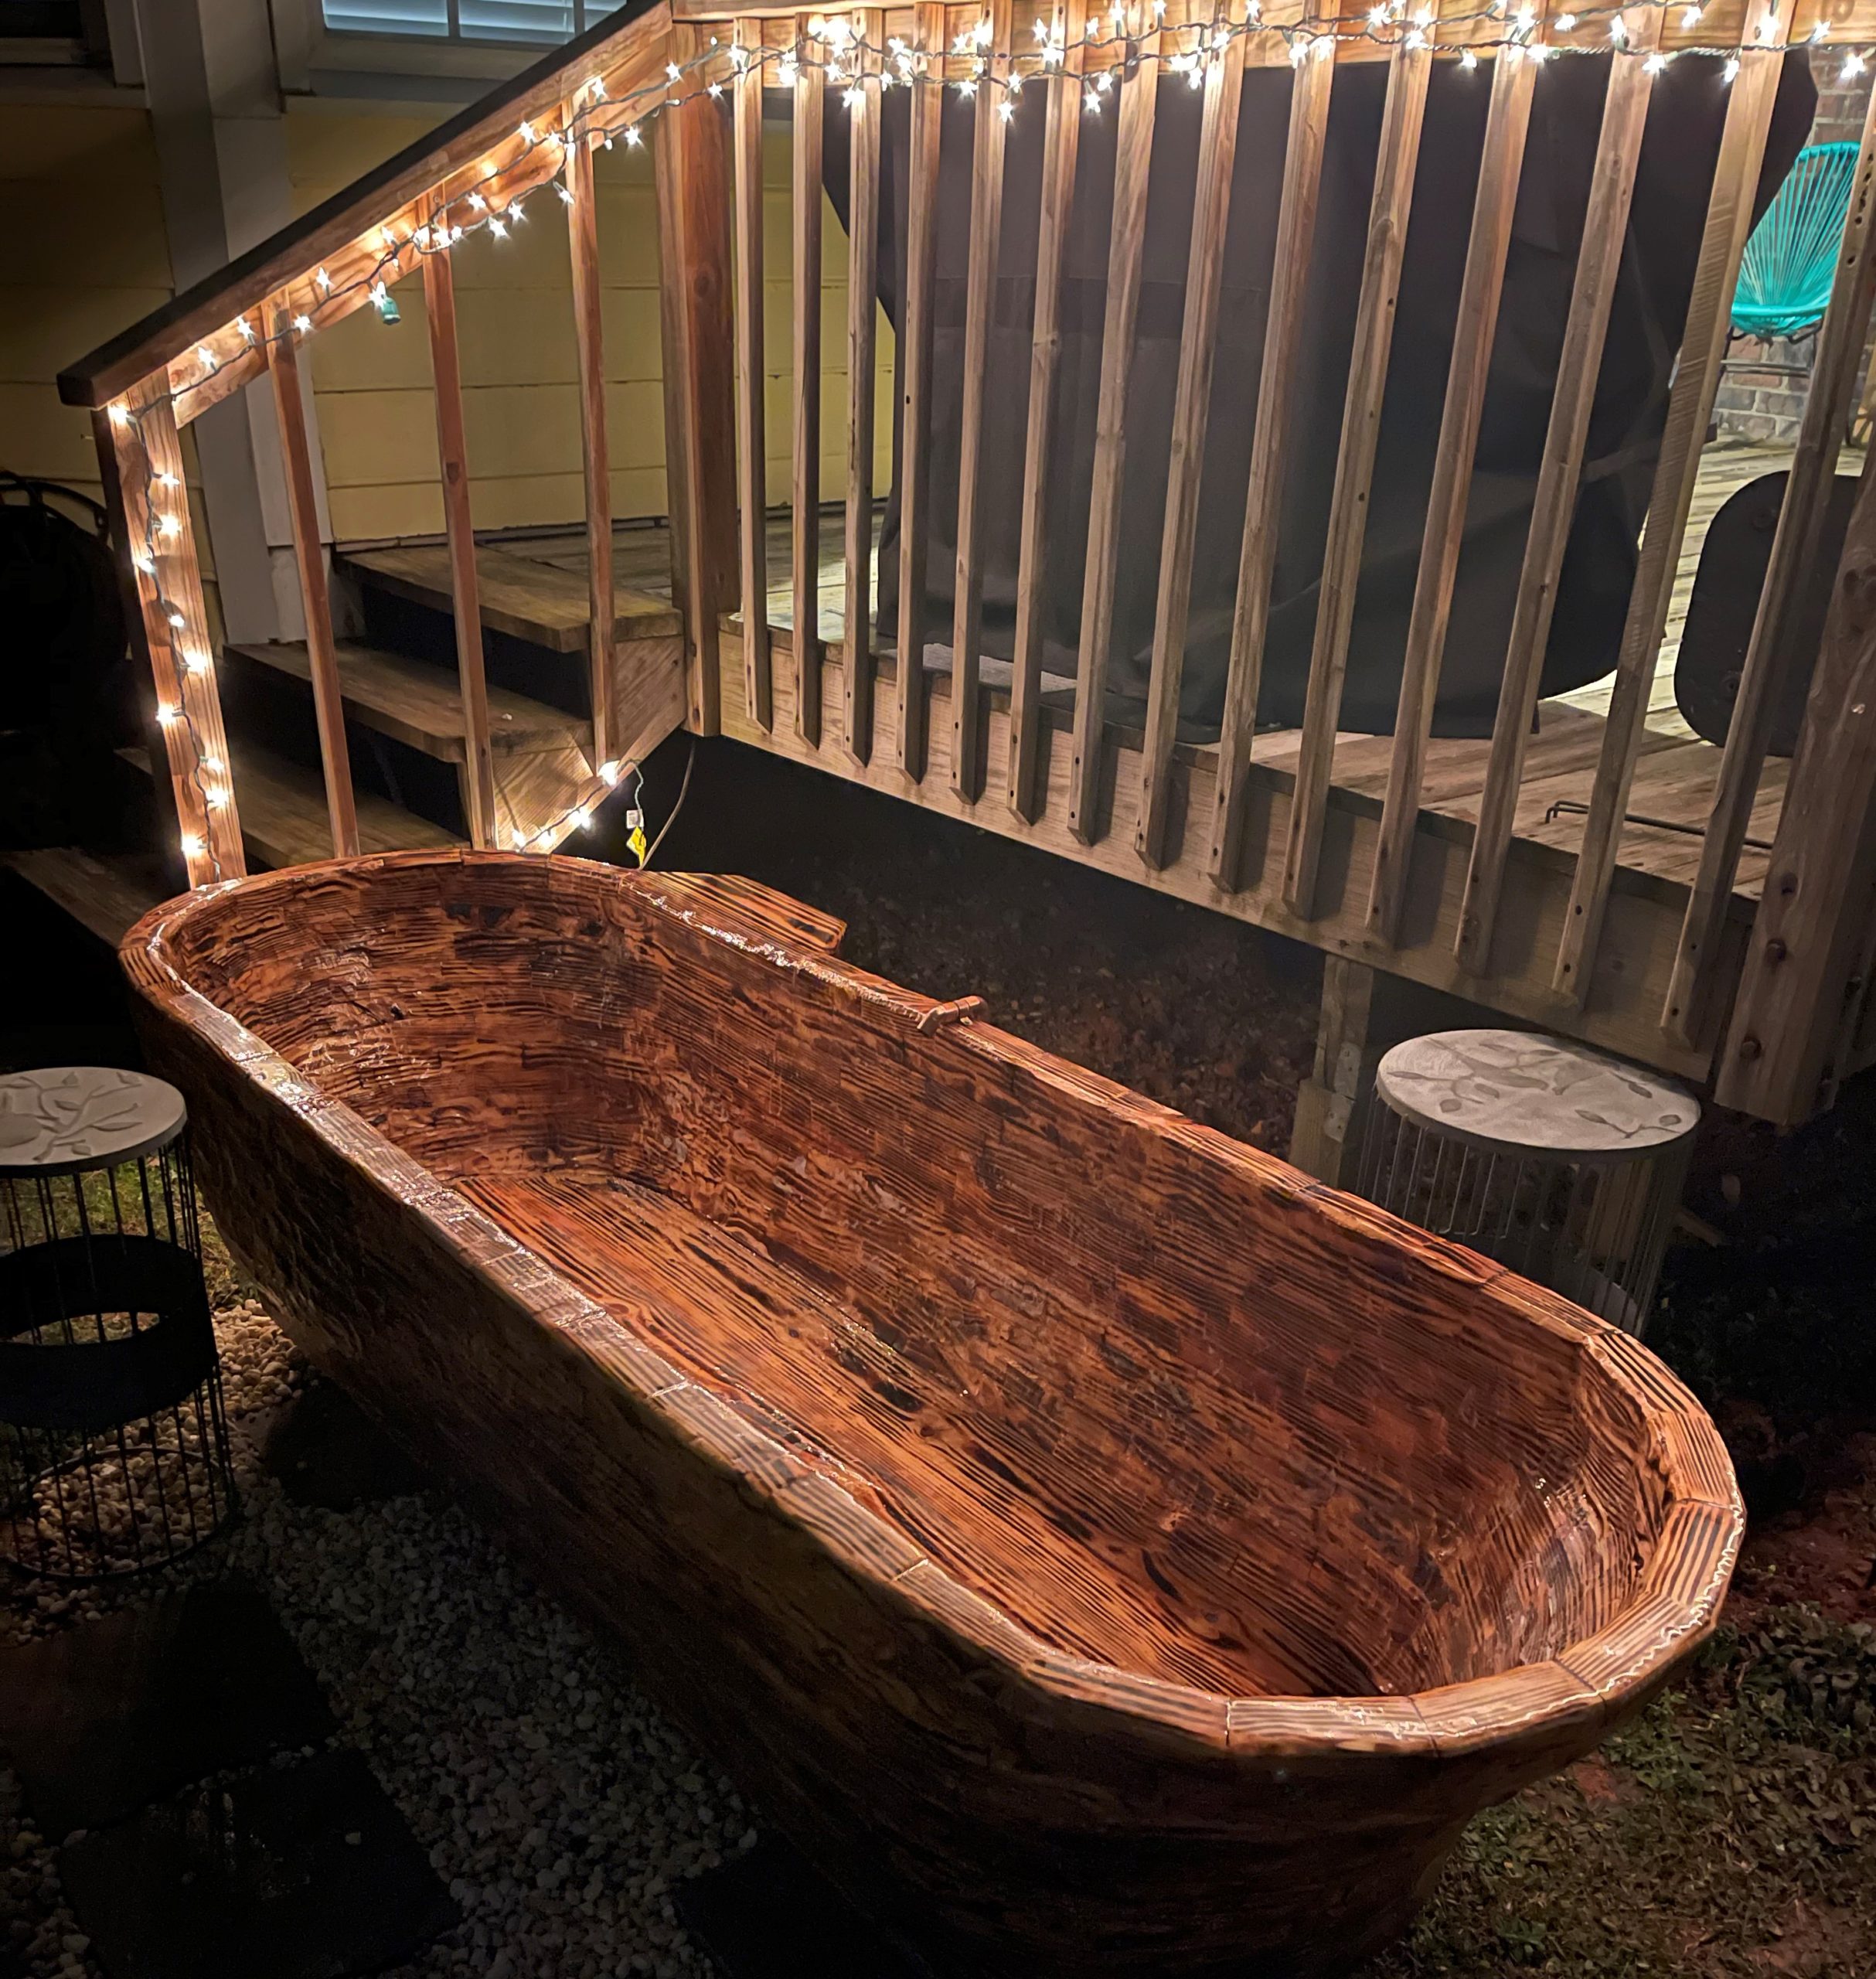
She’s Got Legs
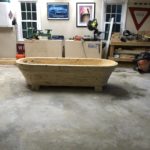
I used 1″ galvanized steel pipe for the legs. They support the estimated 1500lbs this thing weighs
Finishing
I used over a gallon of Total Boat Epoxy to coat this thing. The next one I will learn how to use fiberglass to get a water tight seal. Also I need to remember after the last coat of epoxy to wait at least a week before getting it wet.
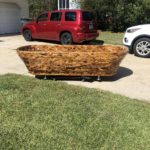

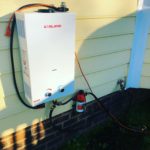
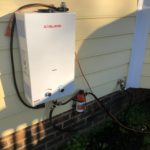
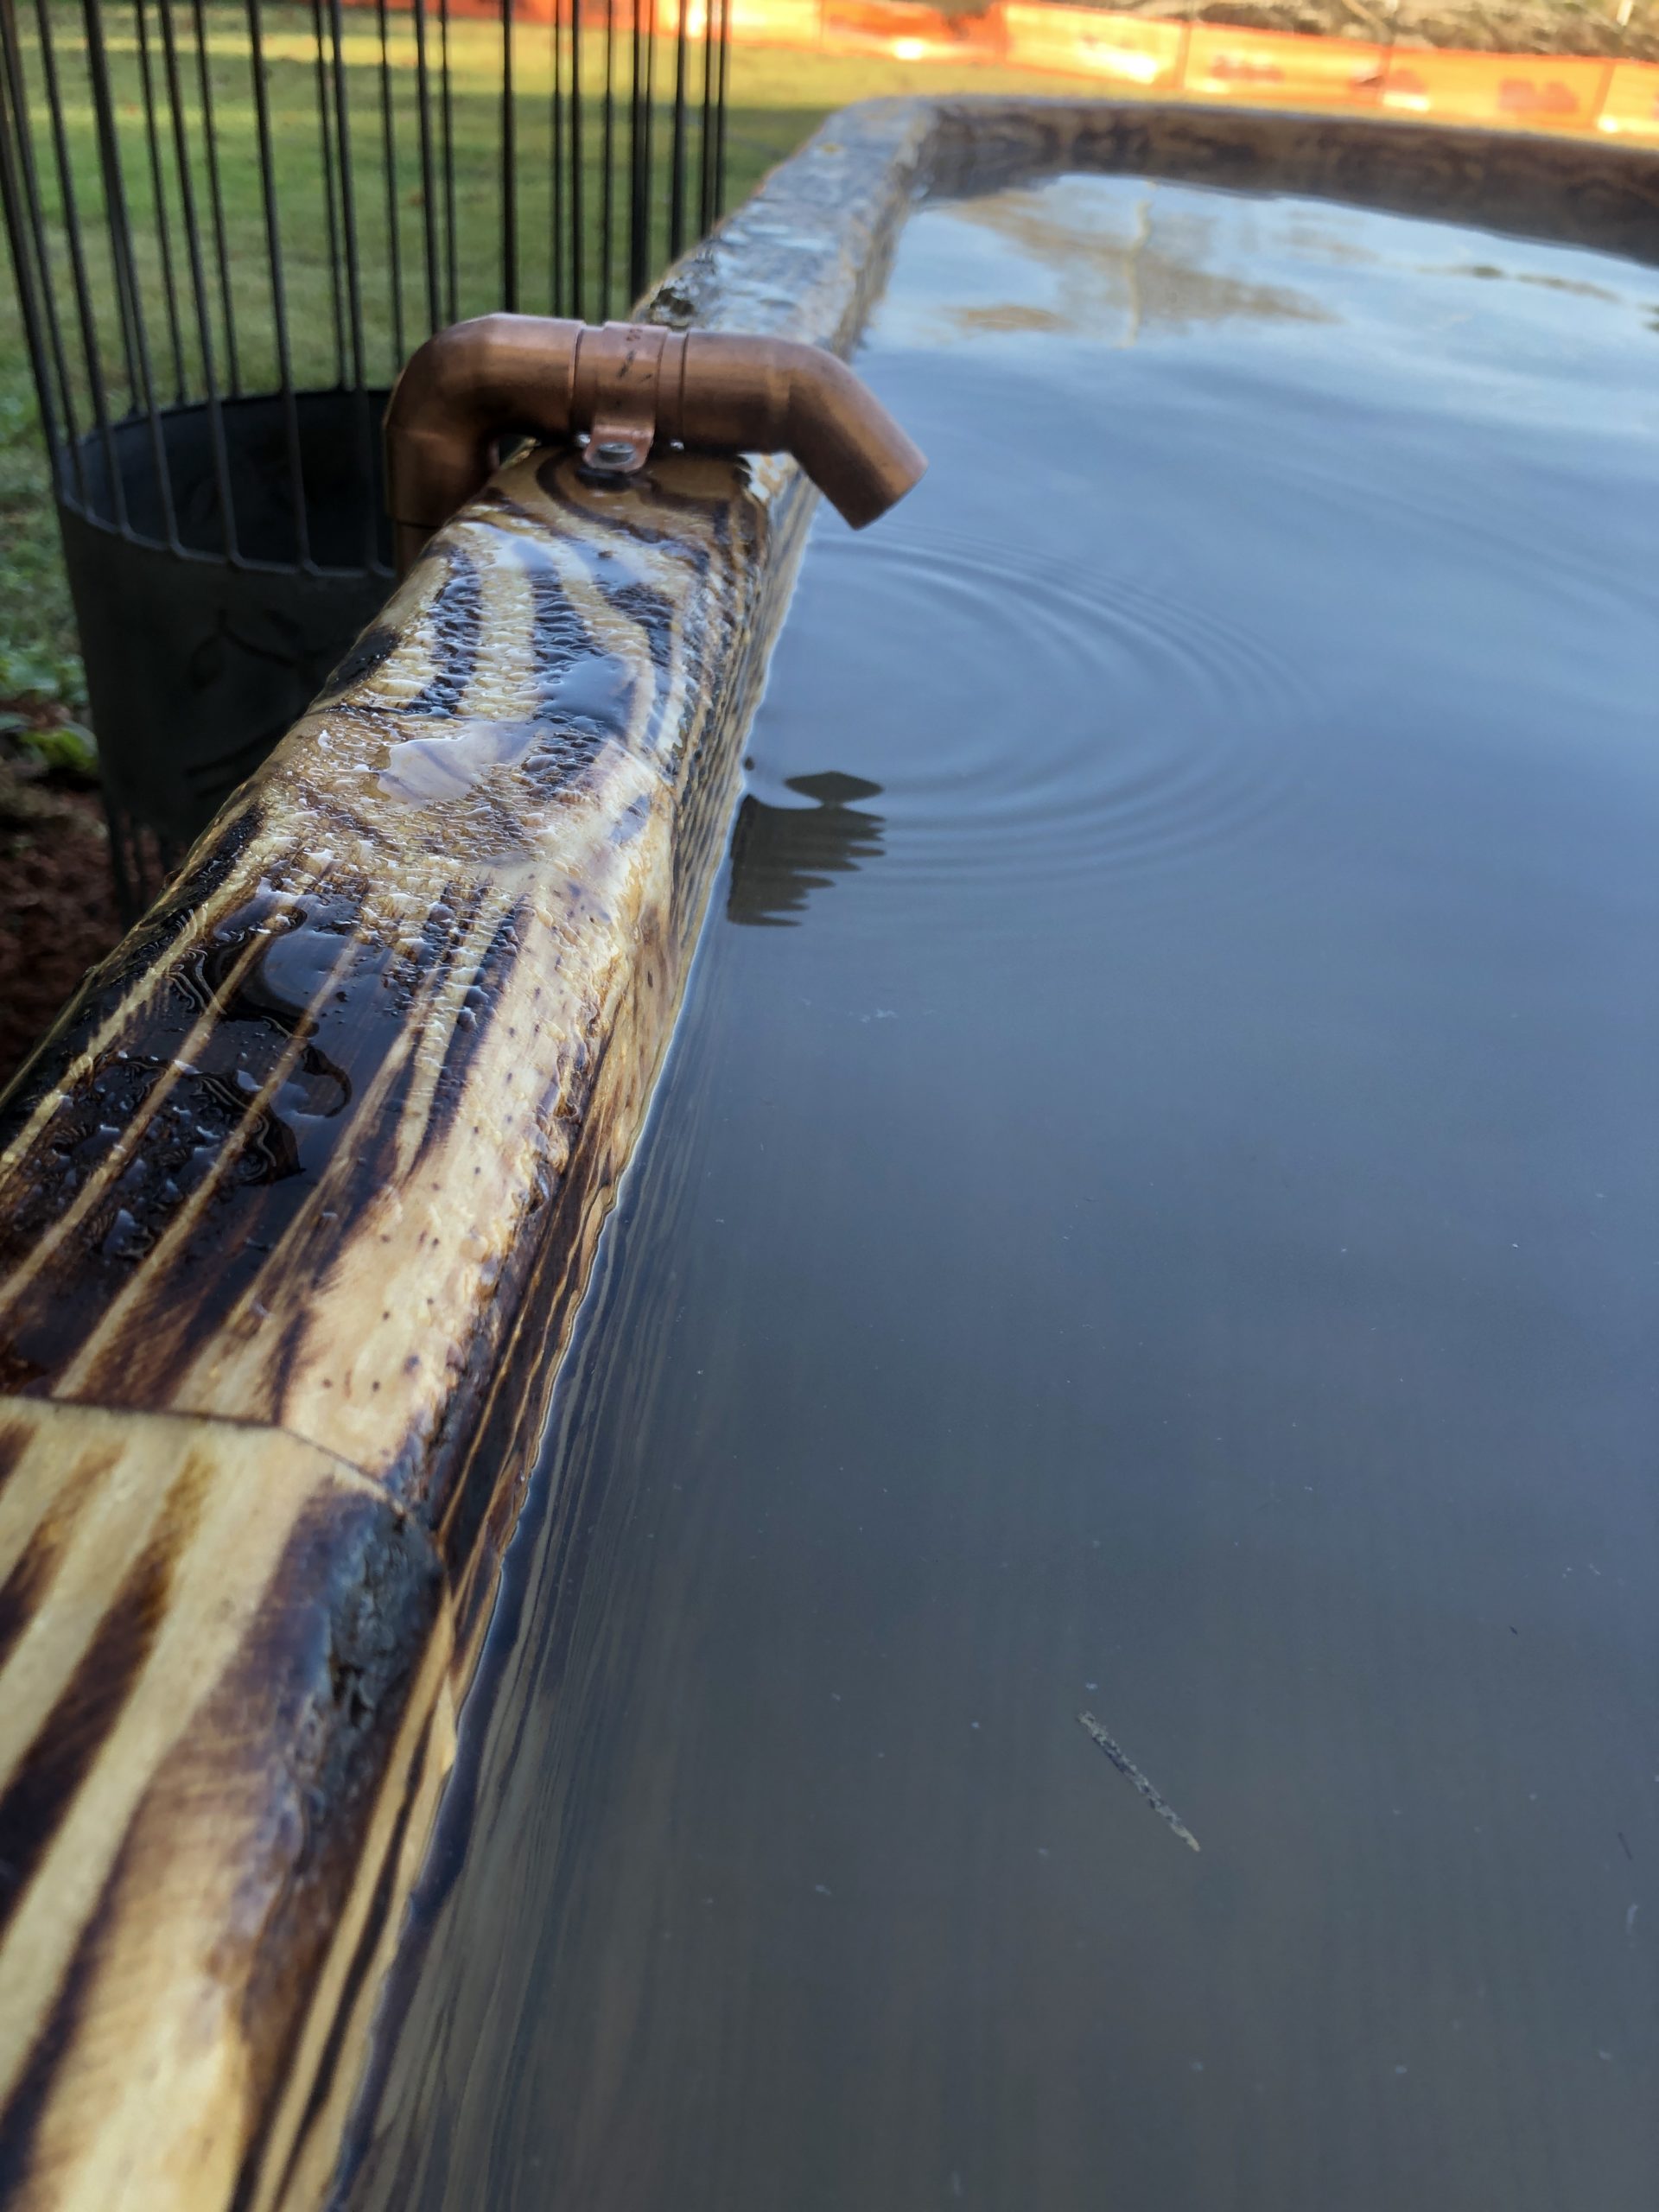
Heater Setup and Final Placement
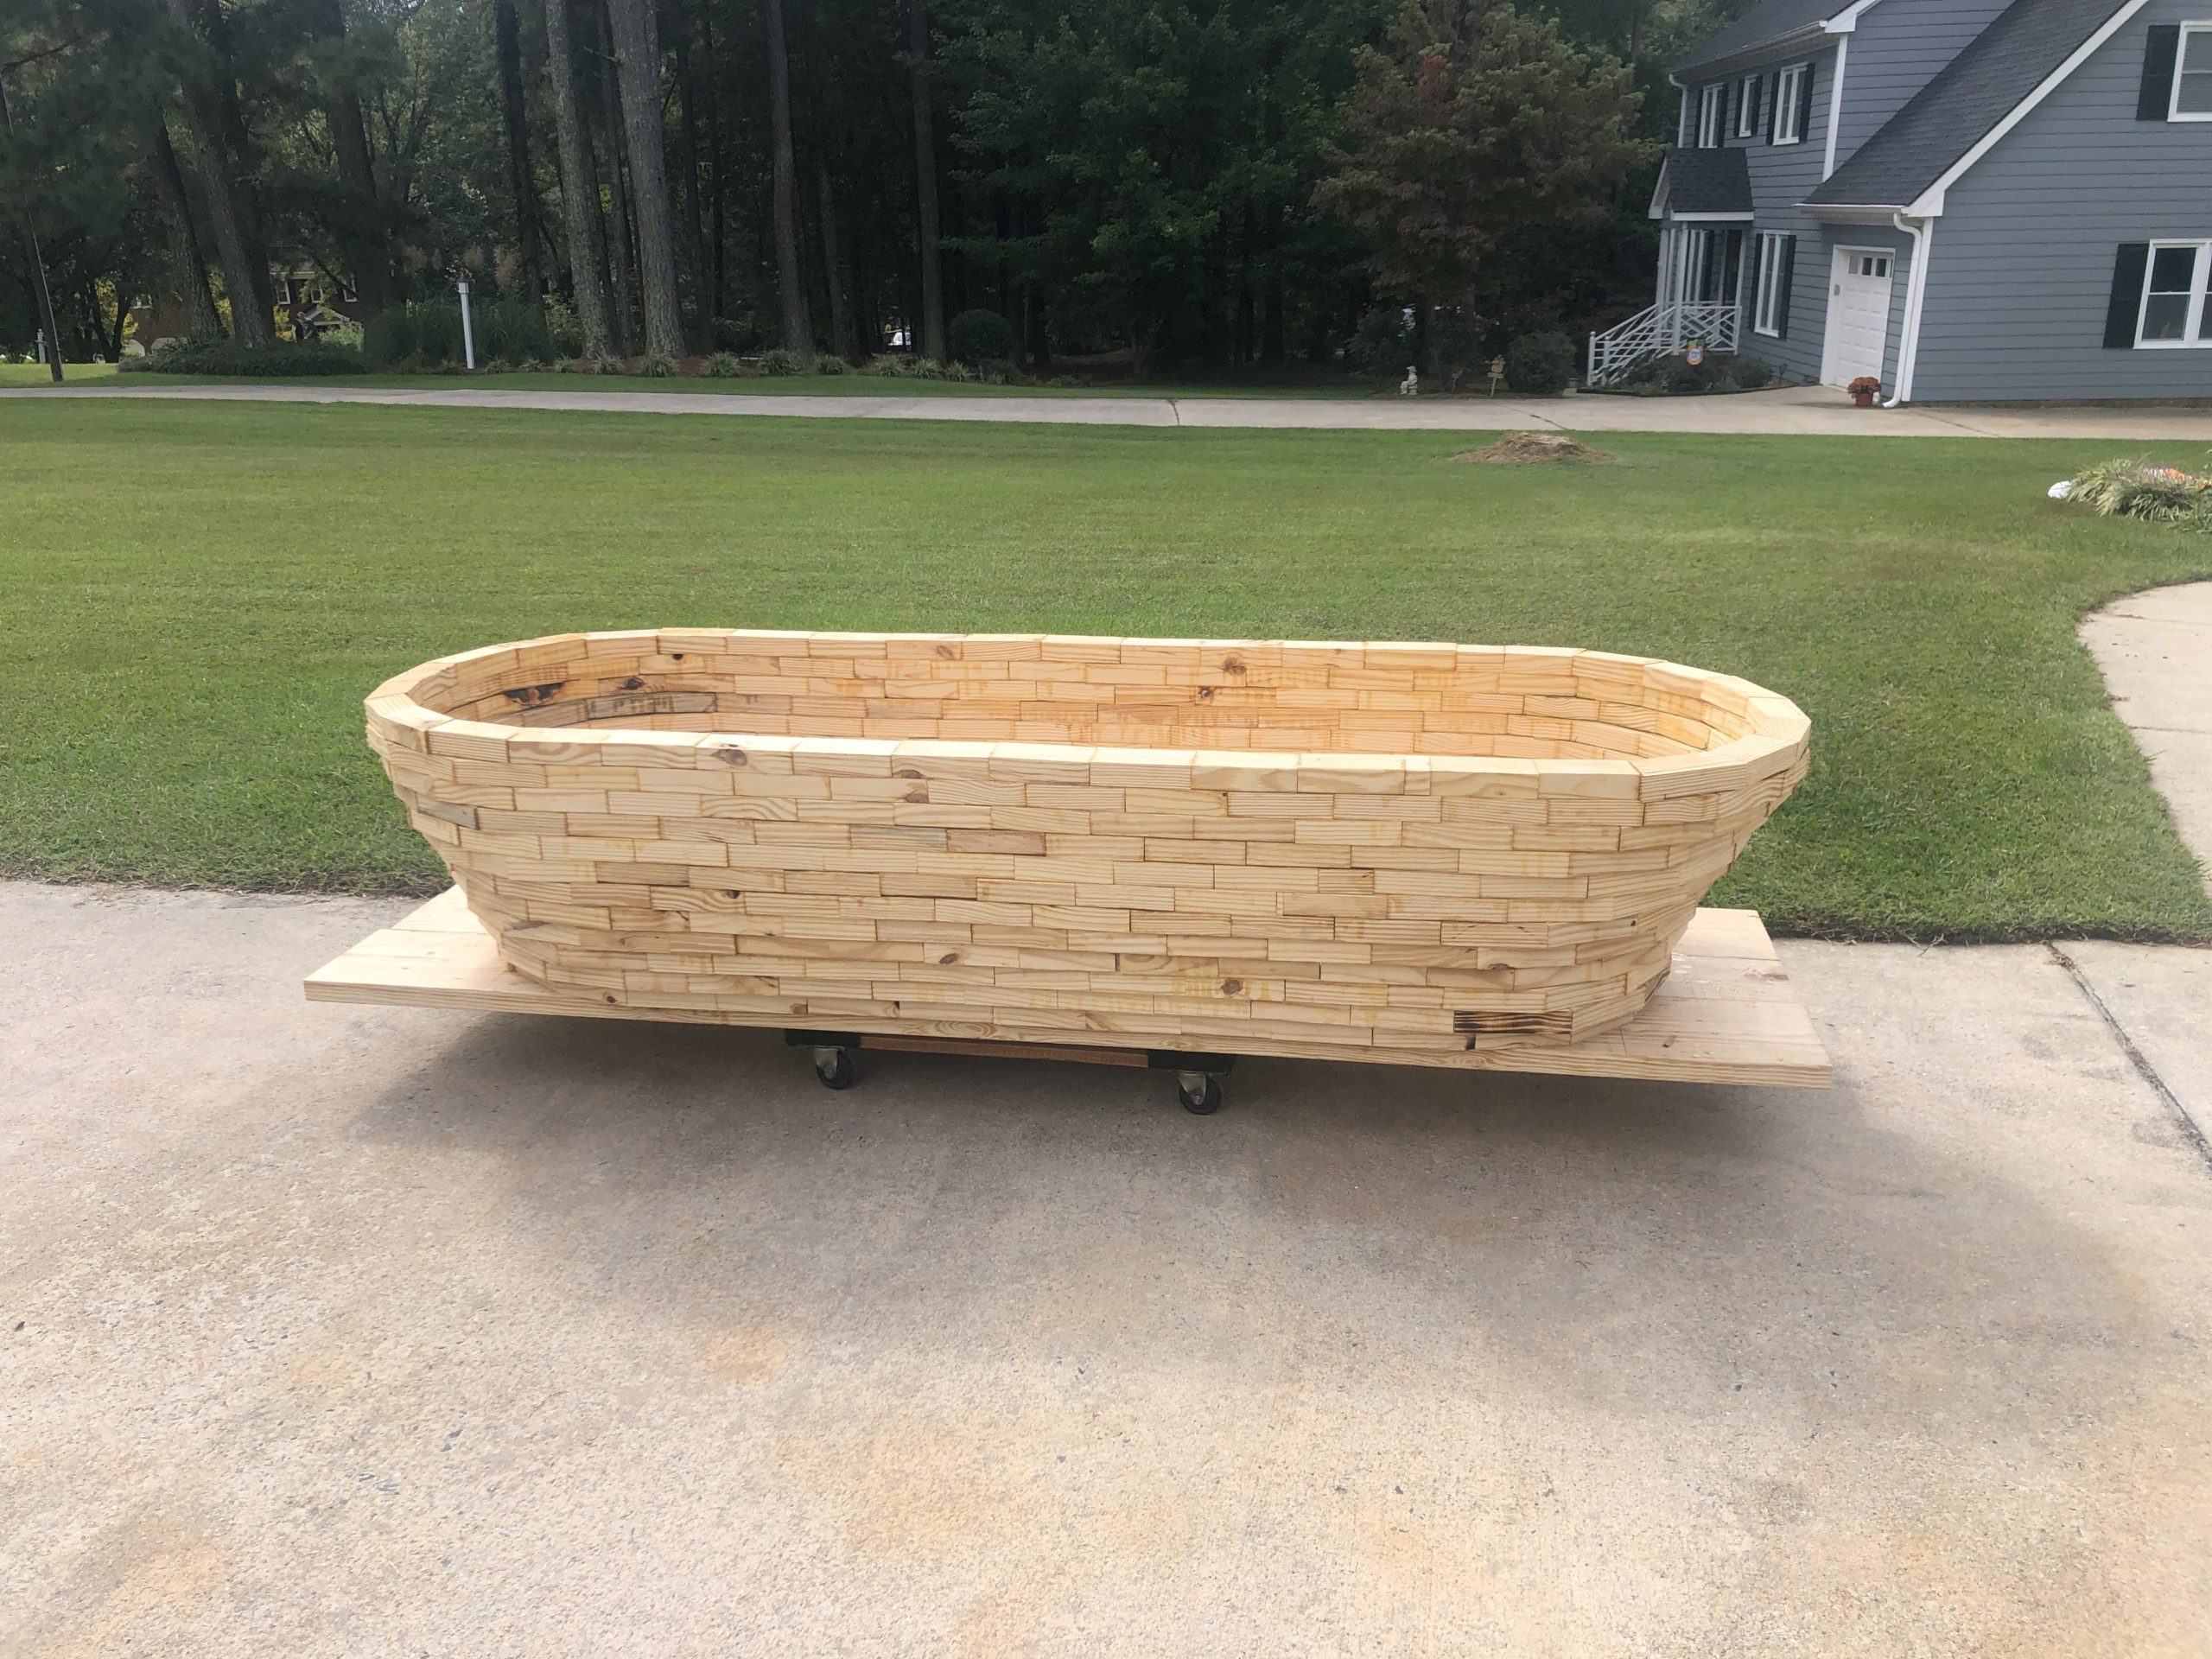
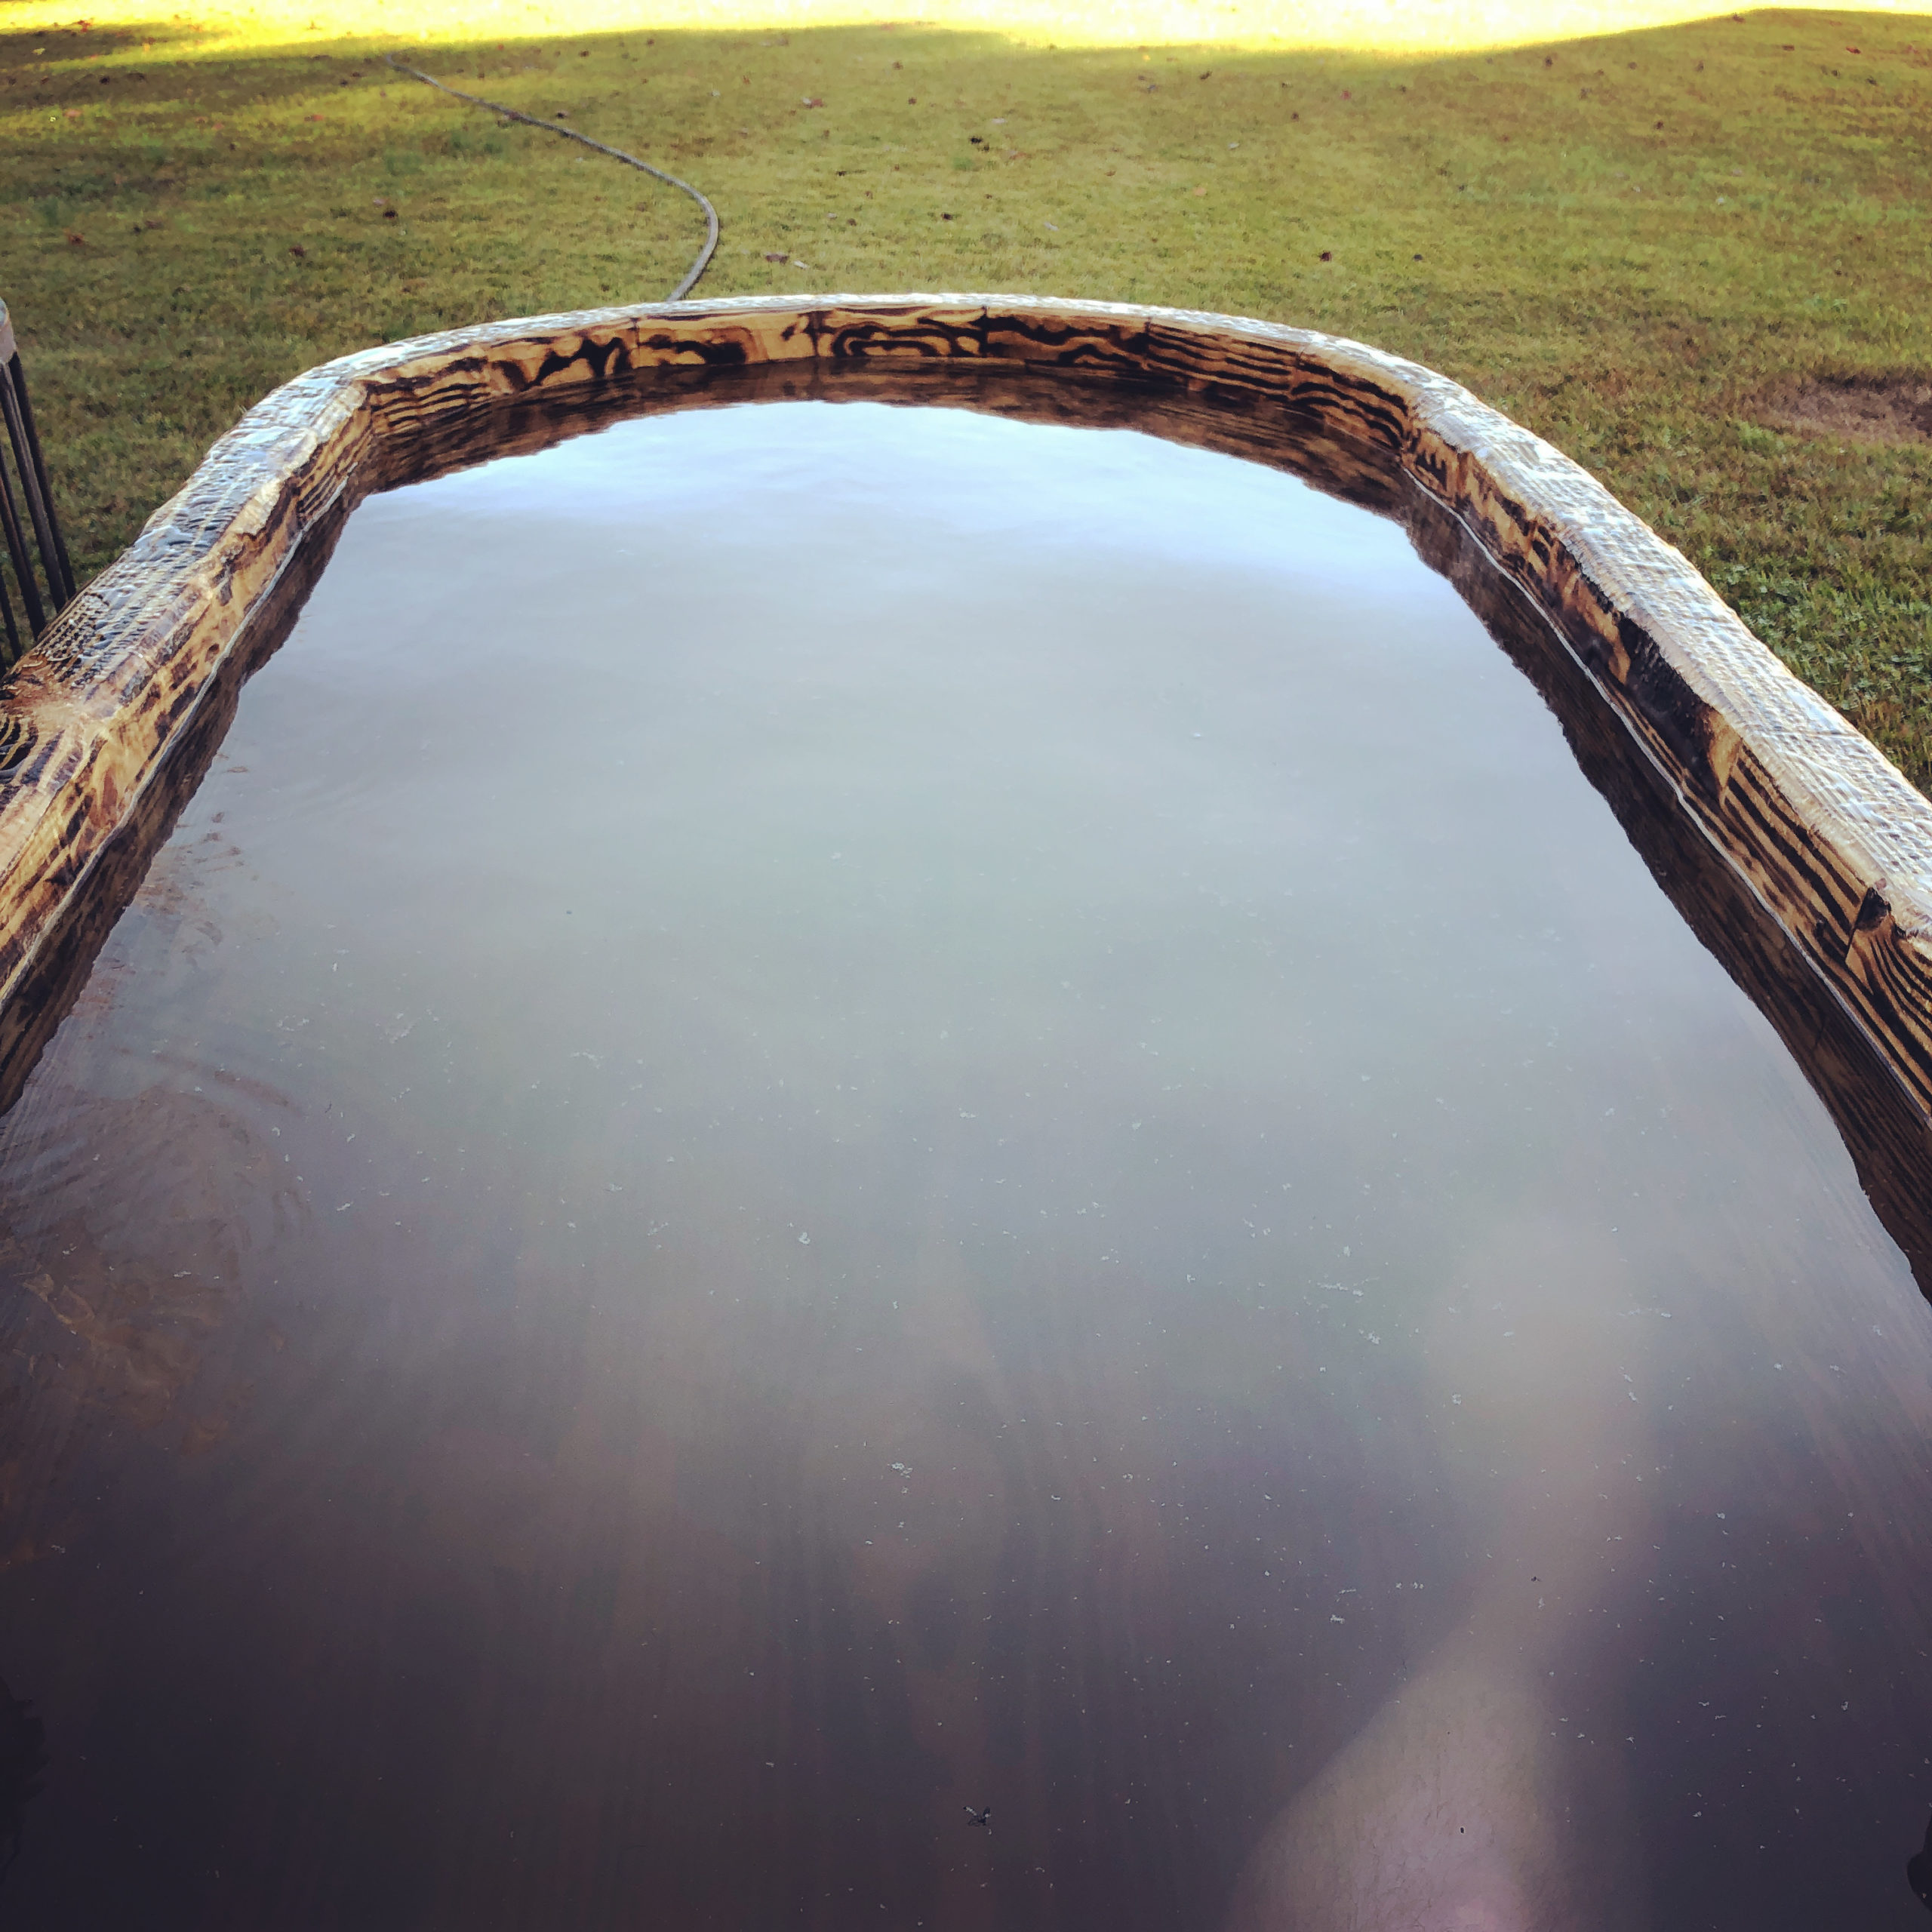
I used a cheap portable (ish) propane heater of Amazon that was $280 bucks. I split off the garden hose spigot with a T-valve that goes into the heater for filling with hot water. I am using a SeaFlo transfer pump to recirculate the water in the tub. I don’t leave it full all the time, usually just a few days or so. I used a 4×8 sheet of OSB ripped in half to roll the tub out with a furniture dolly. I picked up some square stones and river pebbles to make a little stepping area.
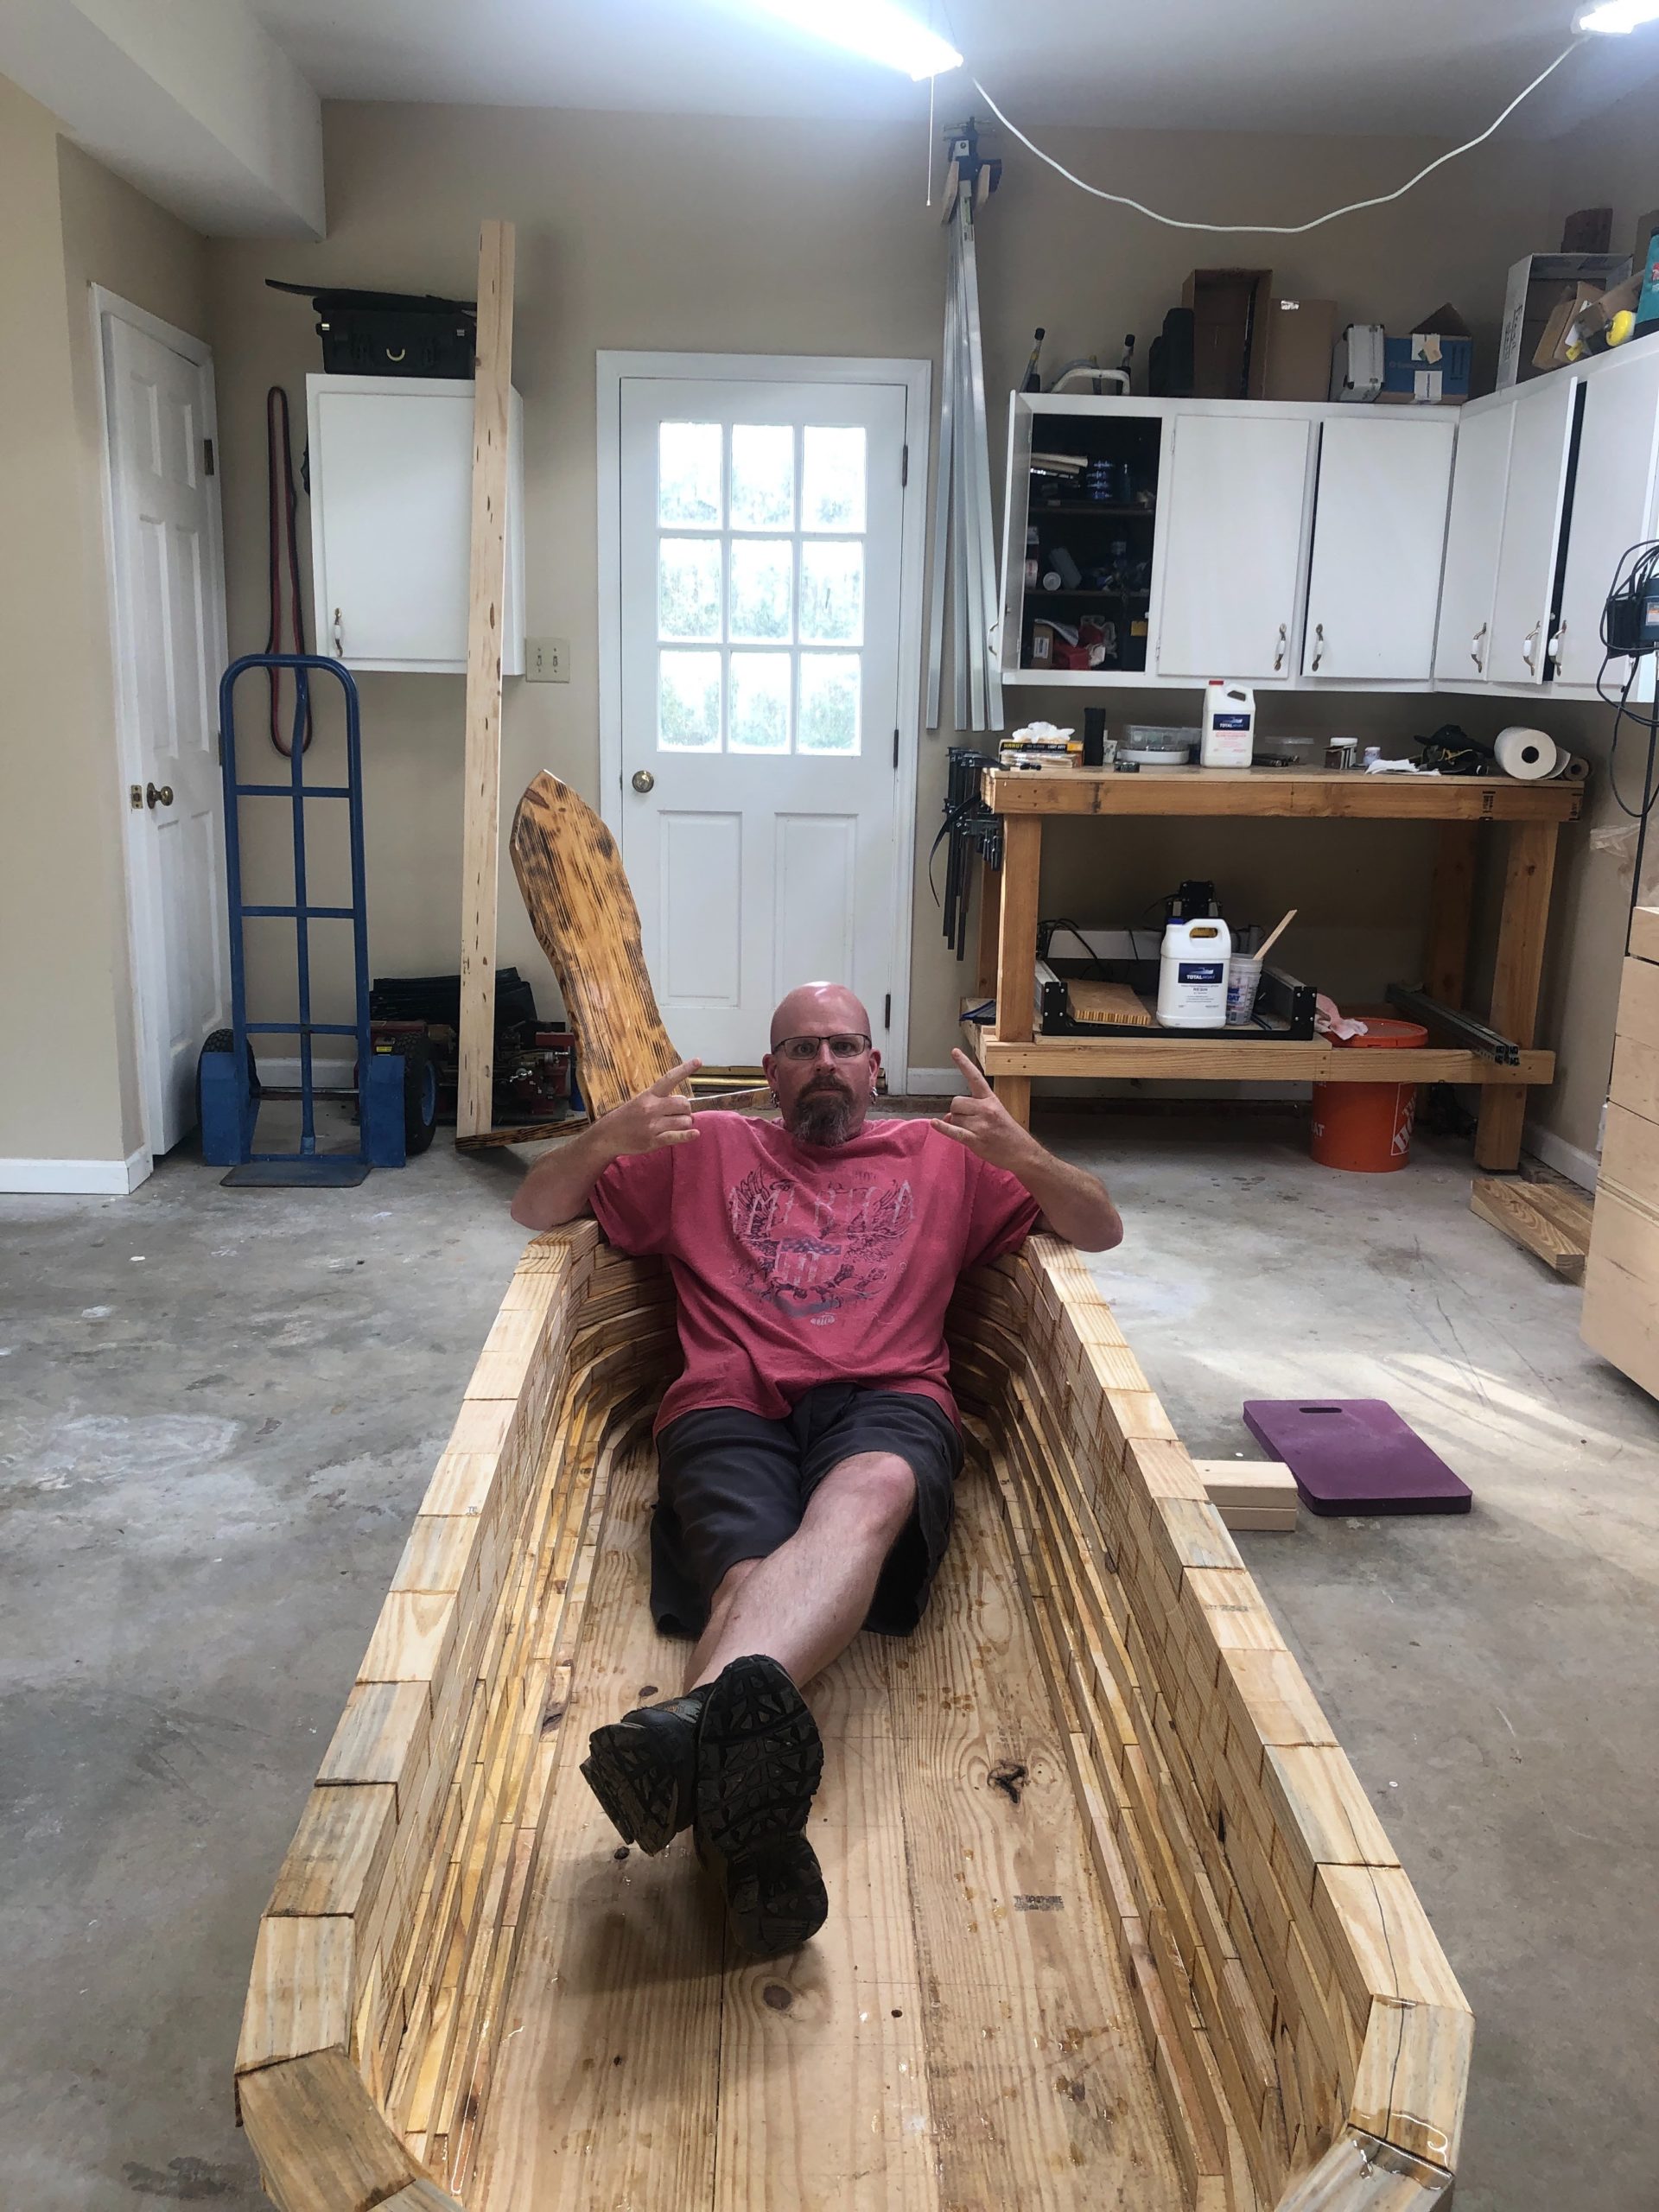
Commence Enjoyment of the DIY Wooden Hot Tub

Things I do not like and will change in the version 2
- The heater solution sucks. I’m going to build a electric version with a spa pump and heater.
- I need to build a cover for it to keep it warm while the electric pump keeps it work
- I am going to build a new and improved model.
- The bottom I need to build a little thicker and then create channels to help it drain better
- I need to build in some “humps” in the bottom so you can use them to keep your arse from sliding
- I will build in some foot pegs / bumps to help for relaxation and support
- I’ll make a point to take video of each and every step
A fitting end to 2020 as the damn gas heater thing doesn’t want to work properly on this new years eve. Farking POS
Disclaimer
Some of the links in all posts may be affiliate links, which means I may get a commission if you end up purchasing their product or service. You will never pay more by using my link compared to what you would pay if you went directly to their website; in fact you may receive an exclusive discount. And it helps me keep the site running!
[…] that the wood hot tub is completed the next project will be to build a matching Barrel Sauna. I found this video and […]